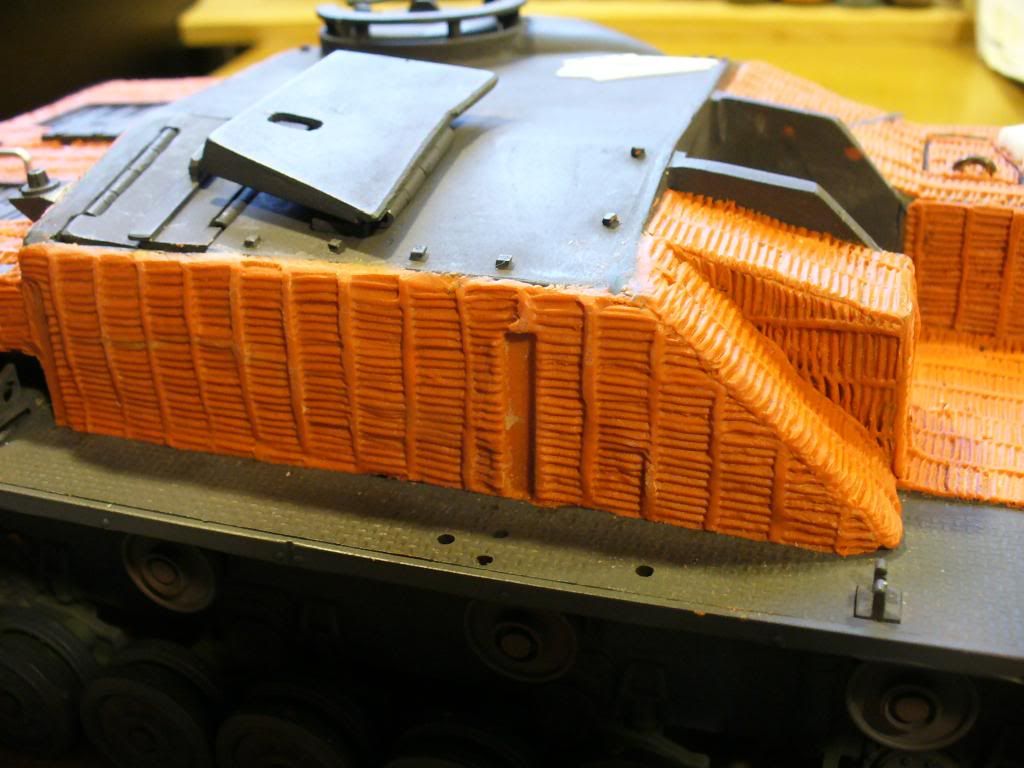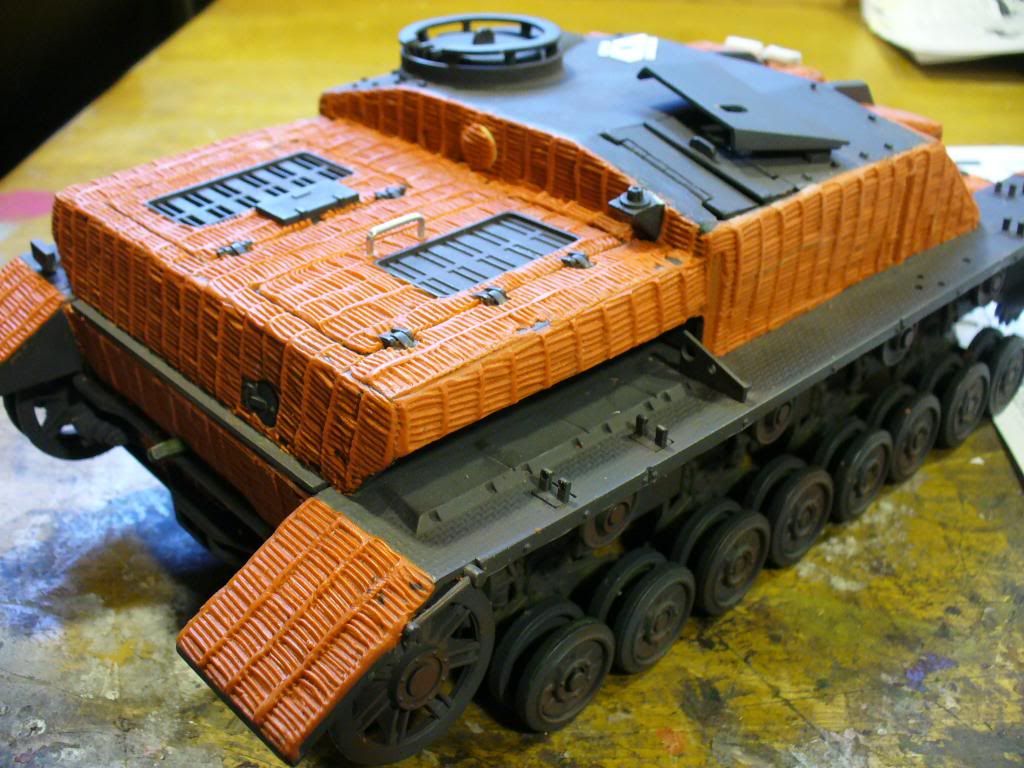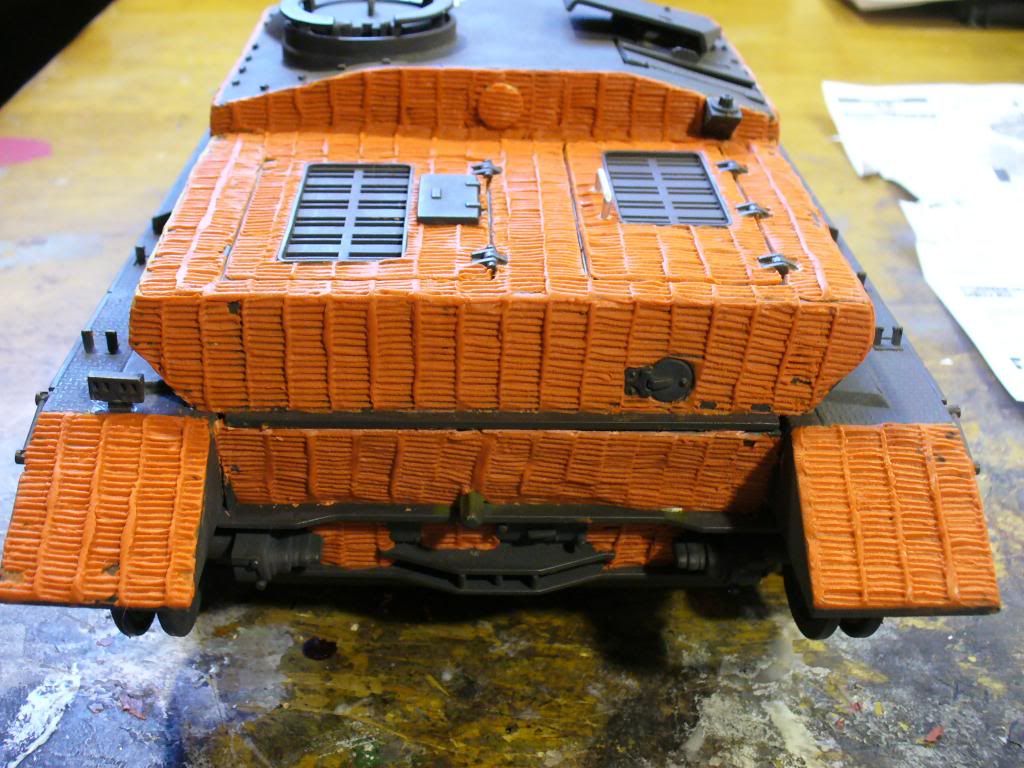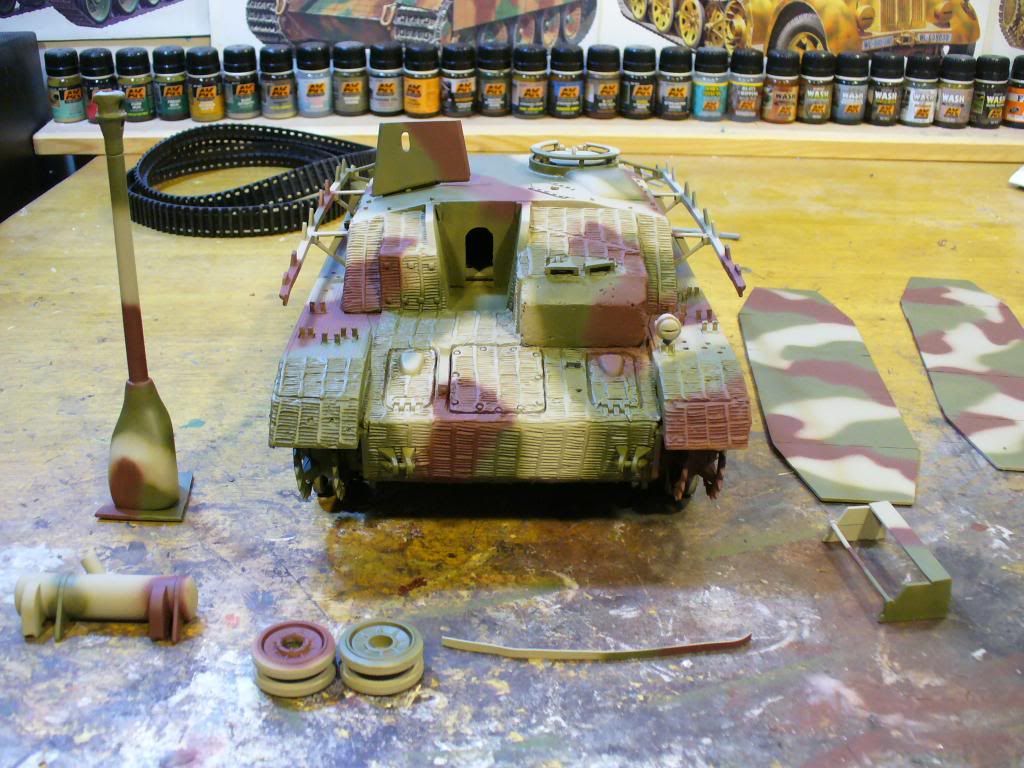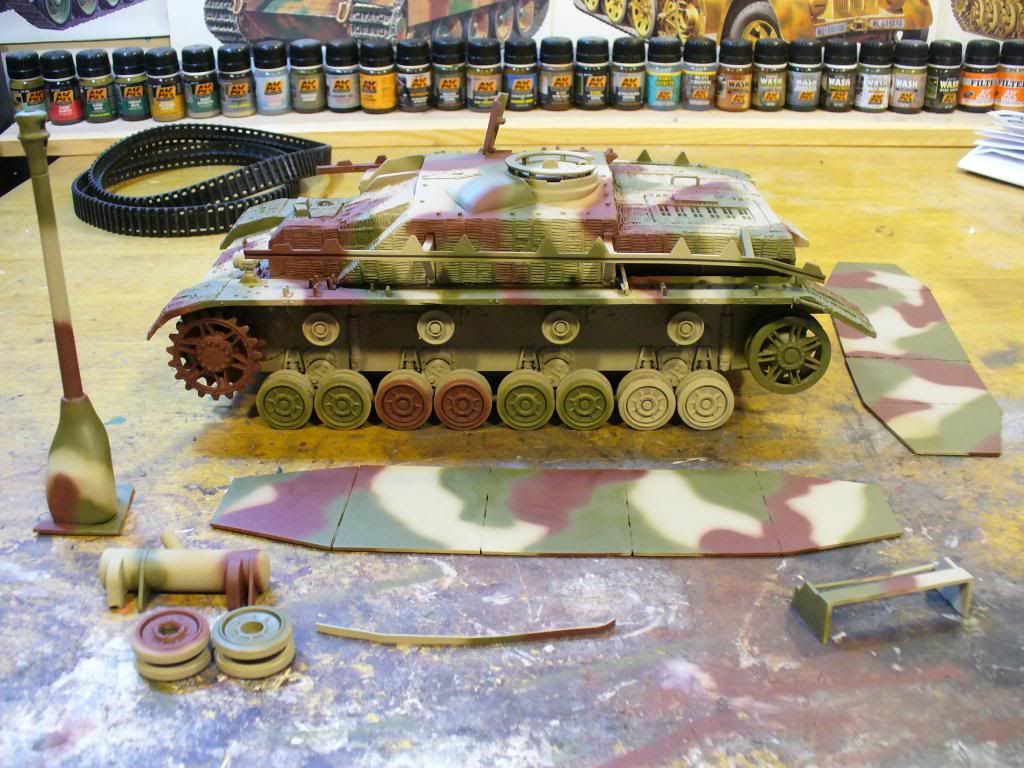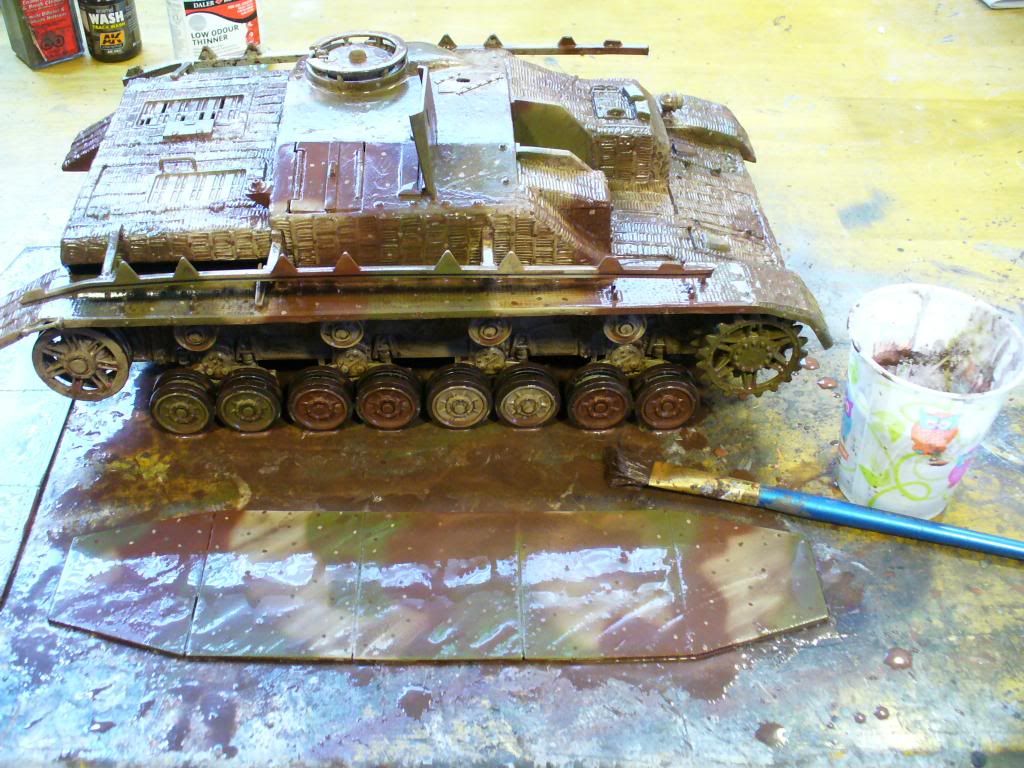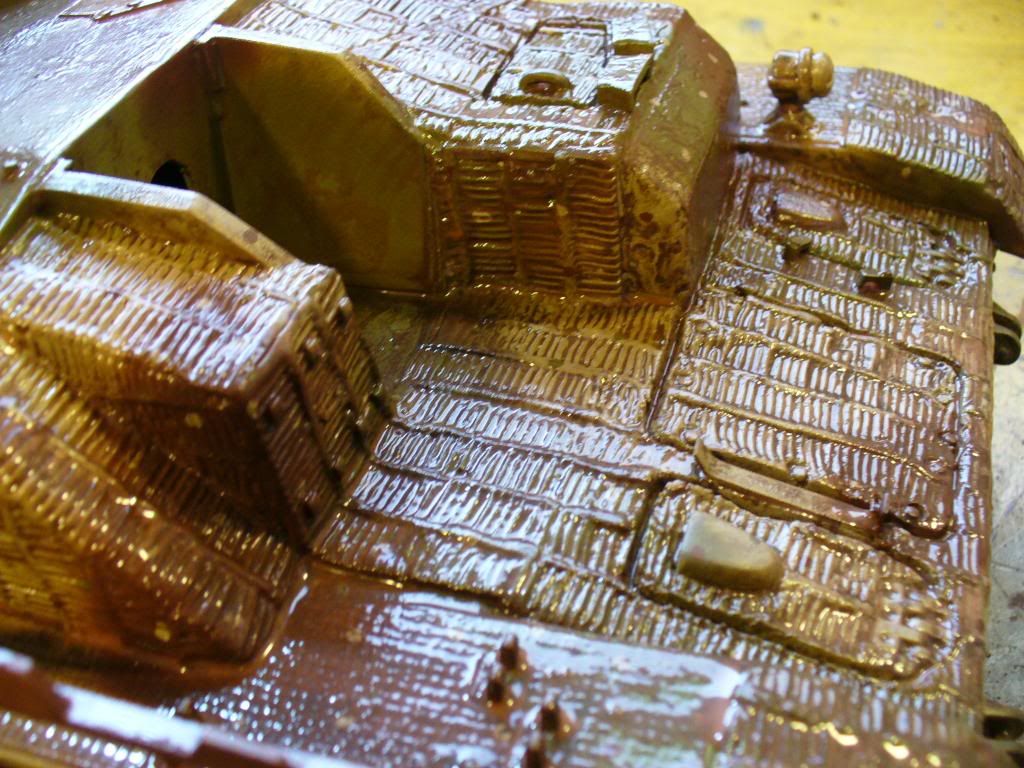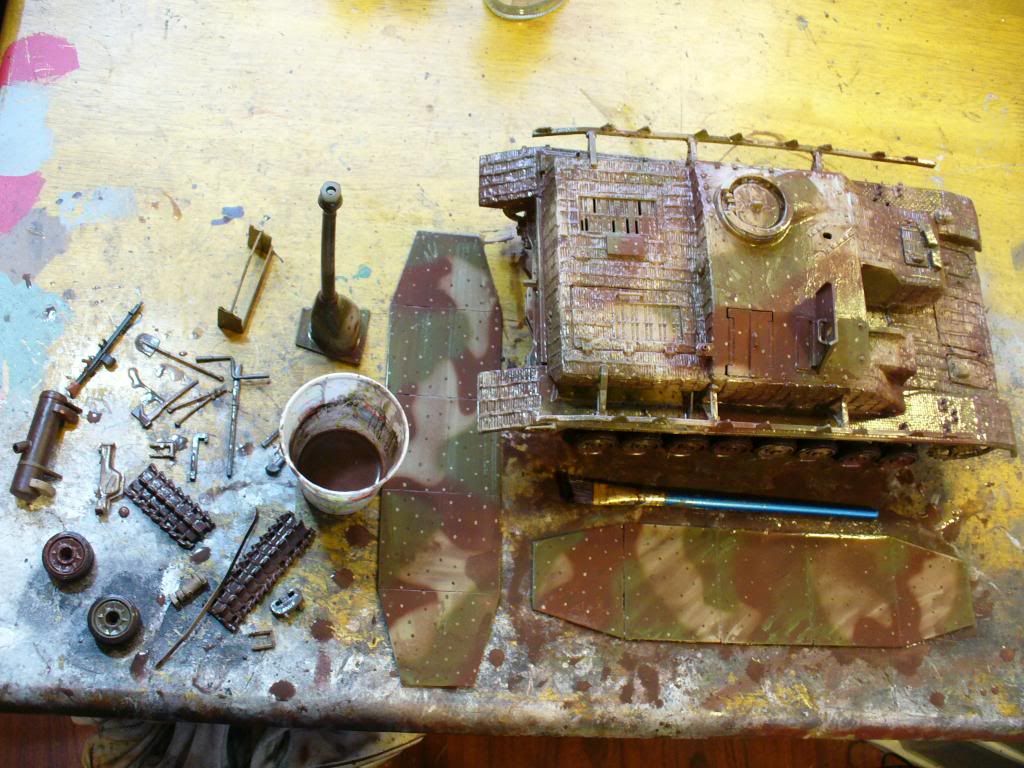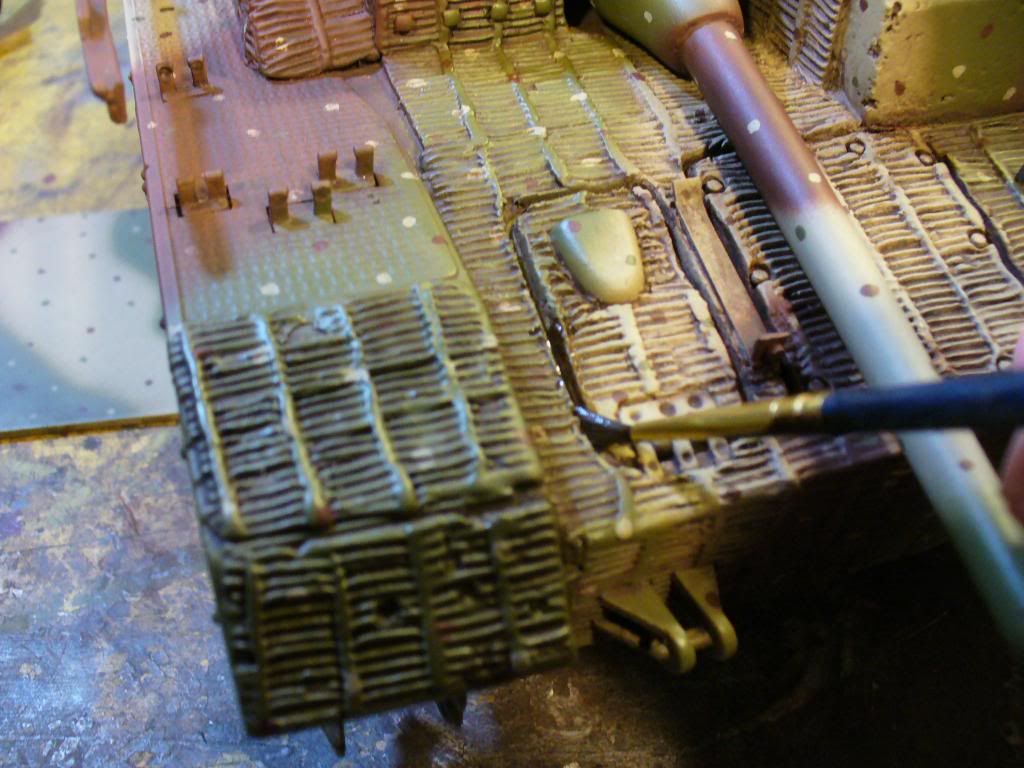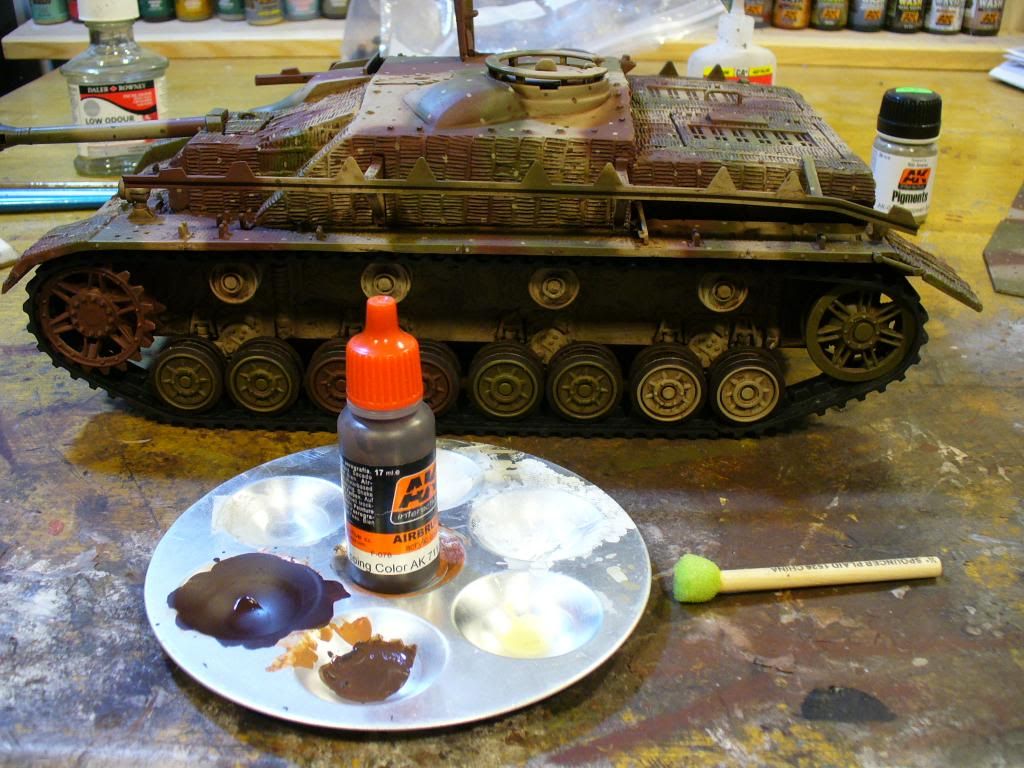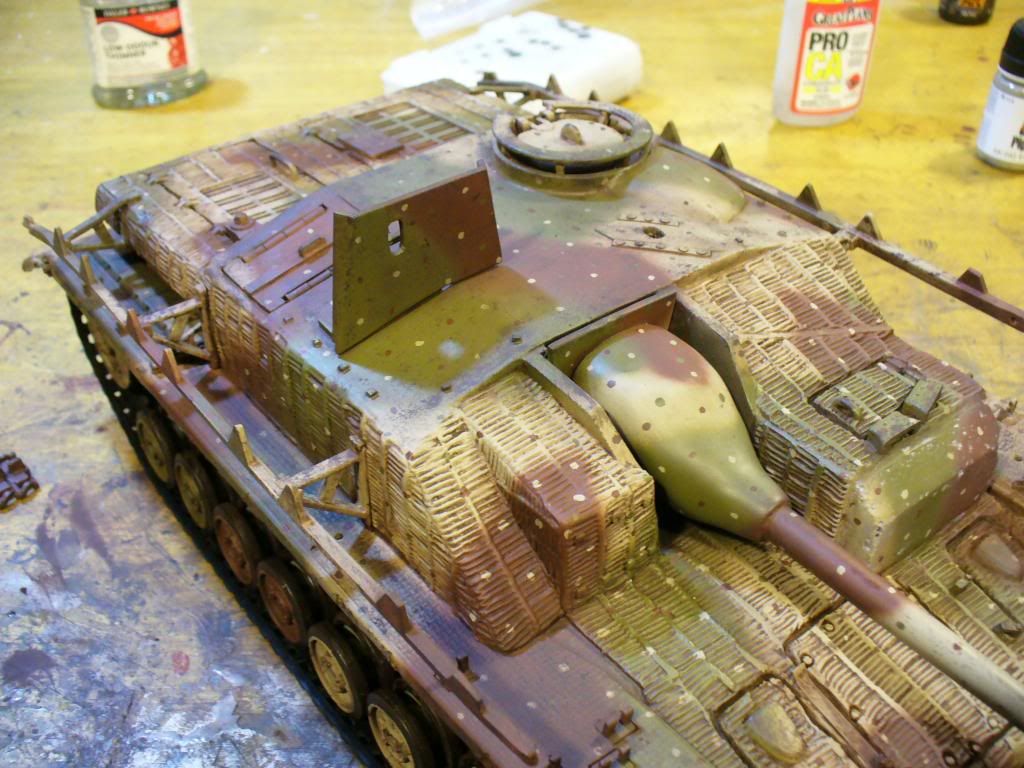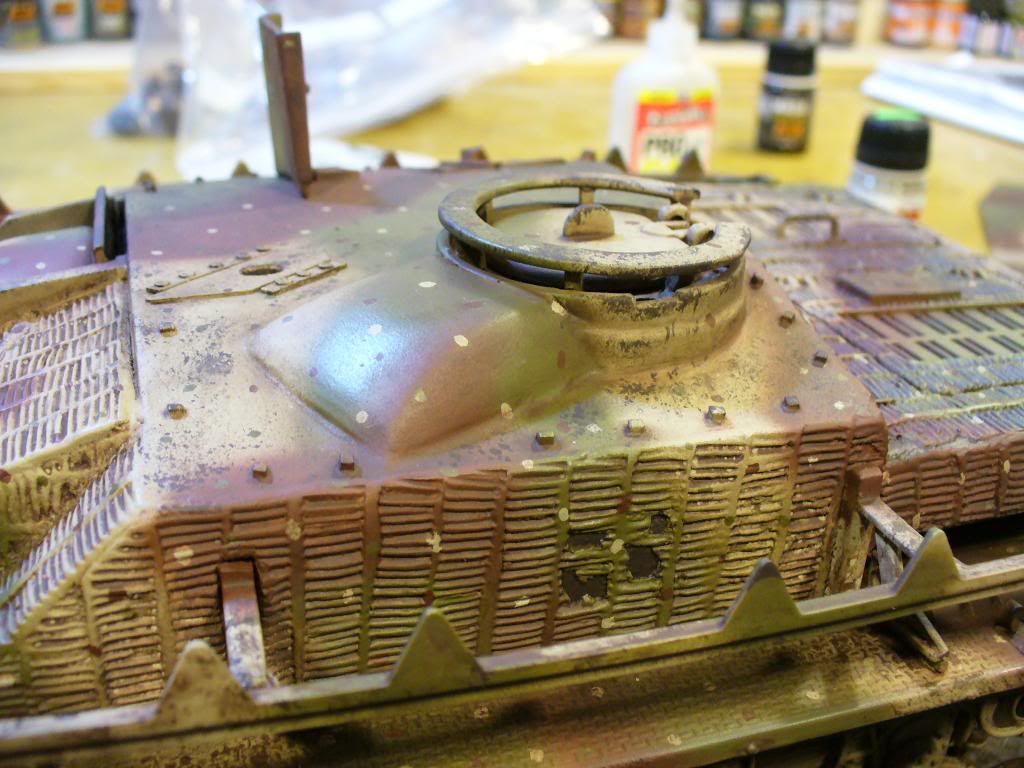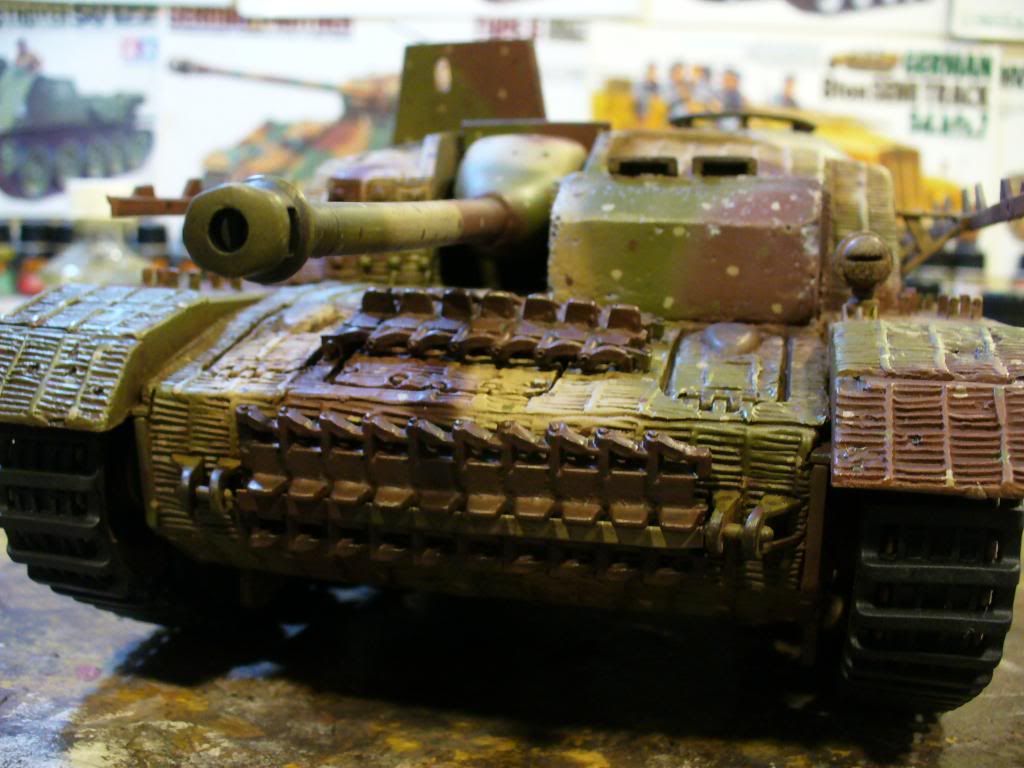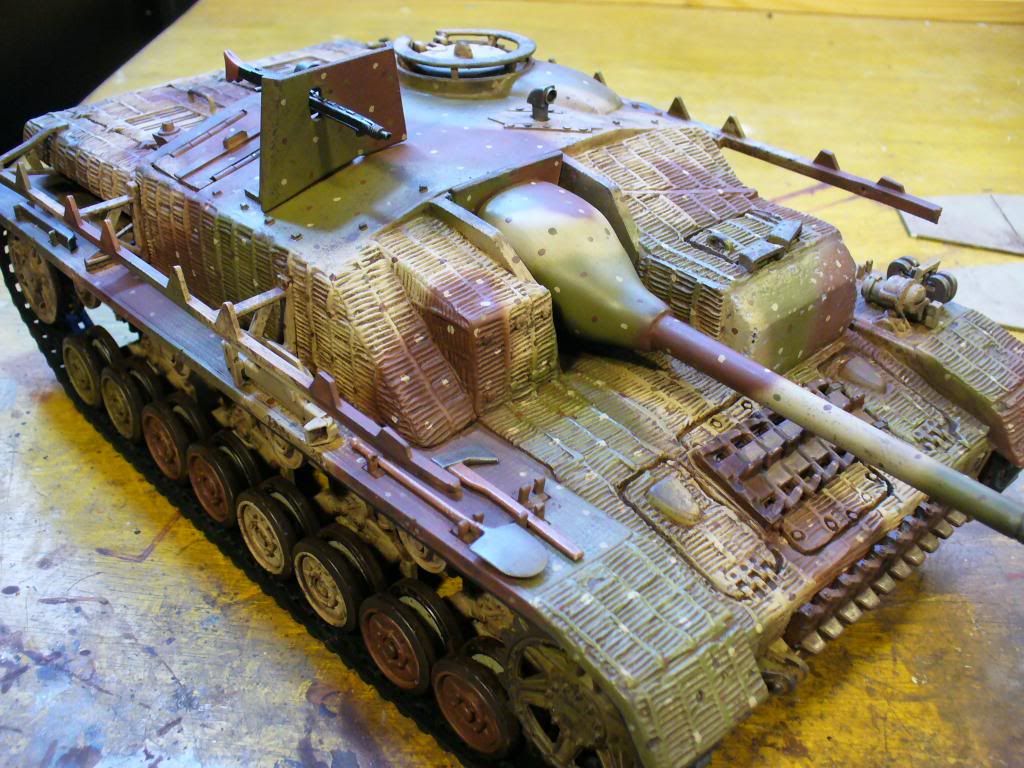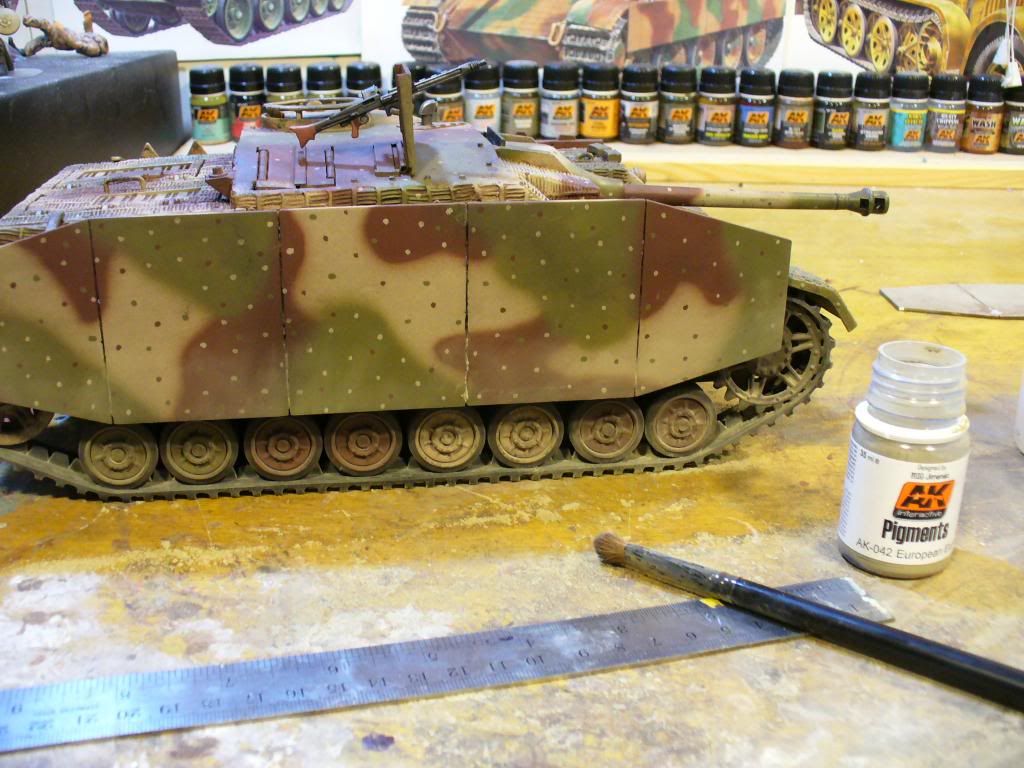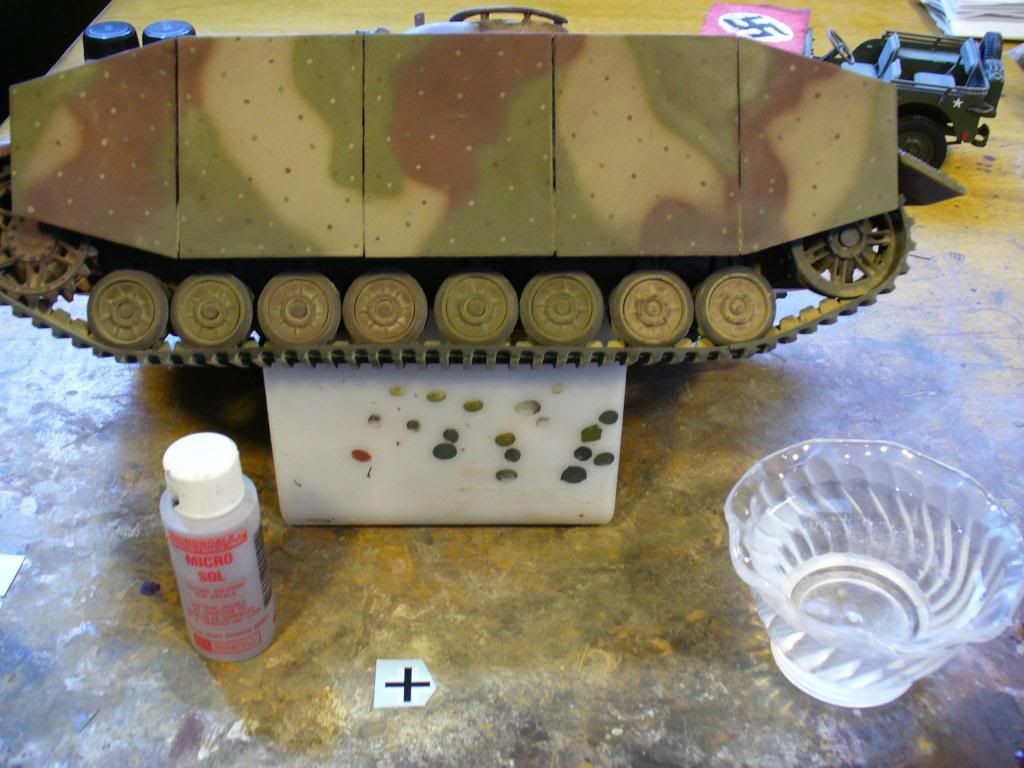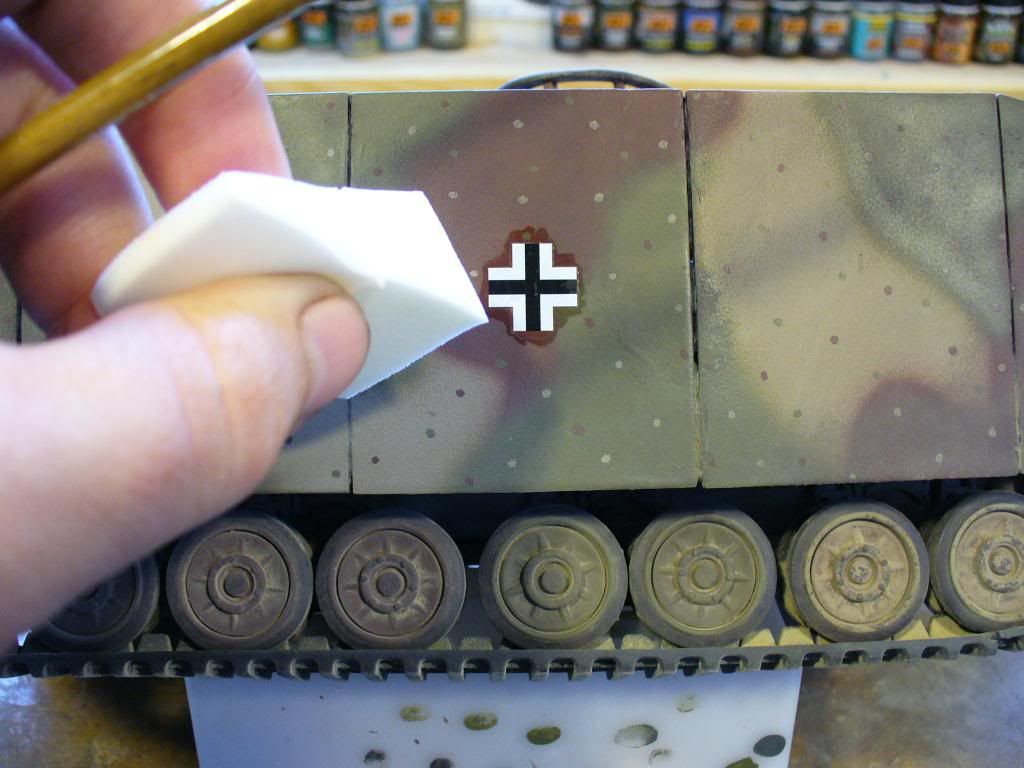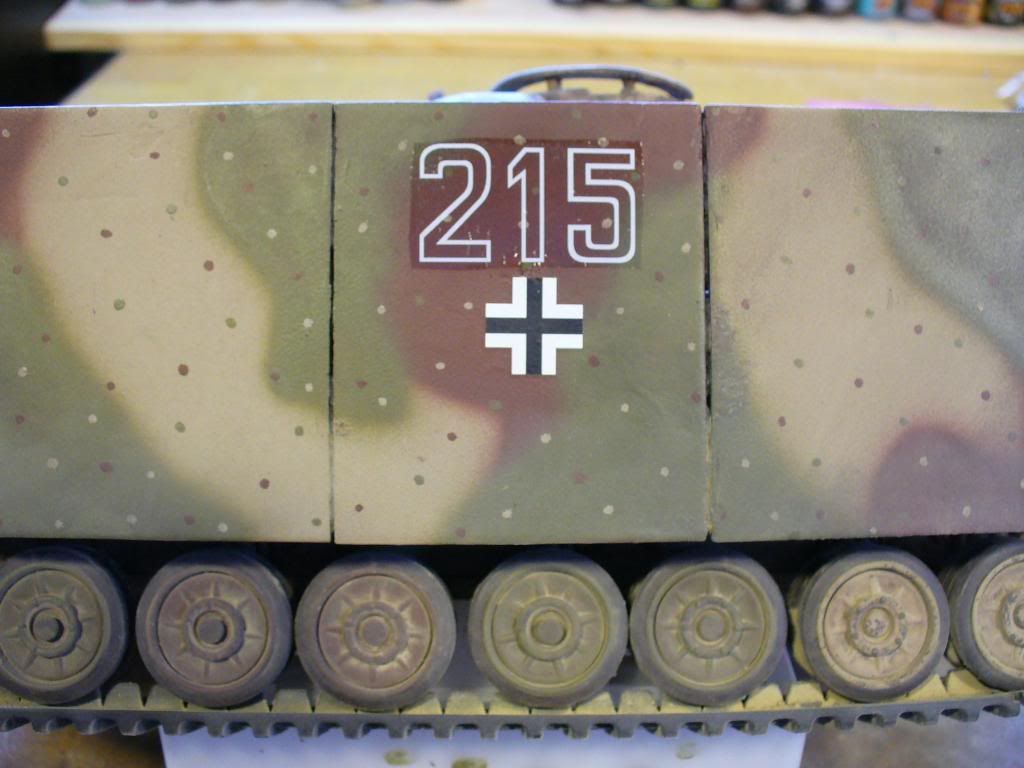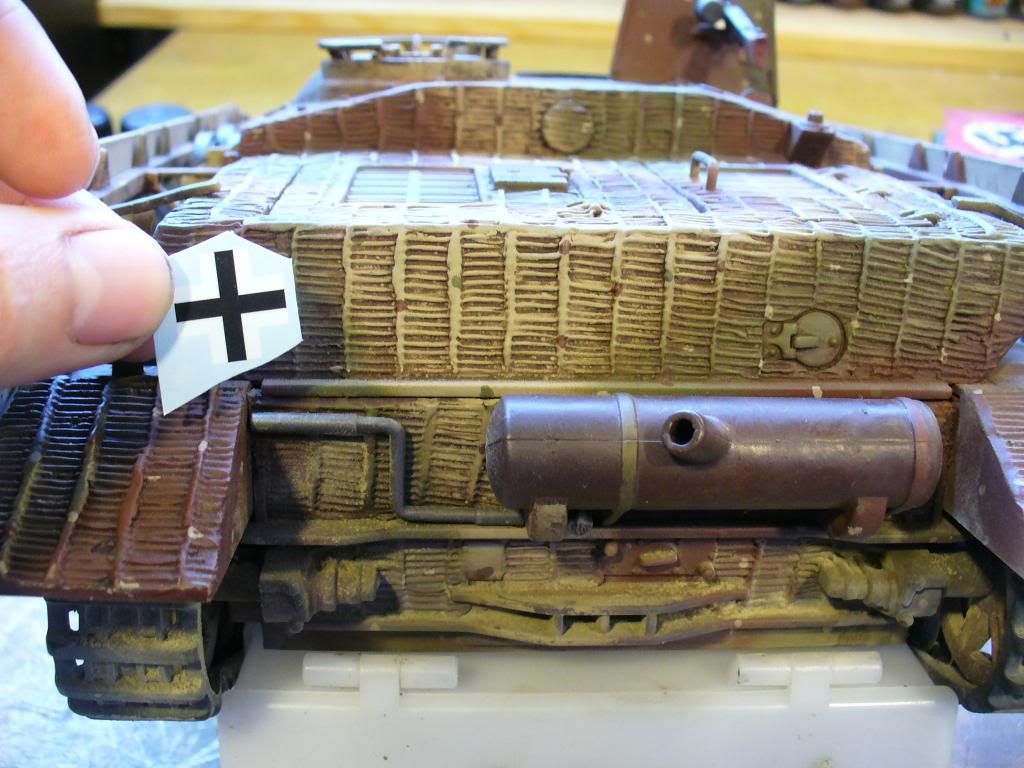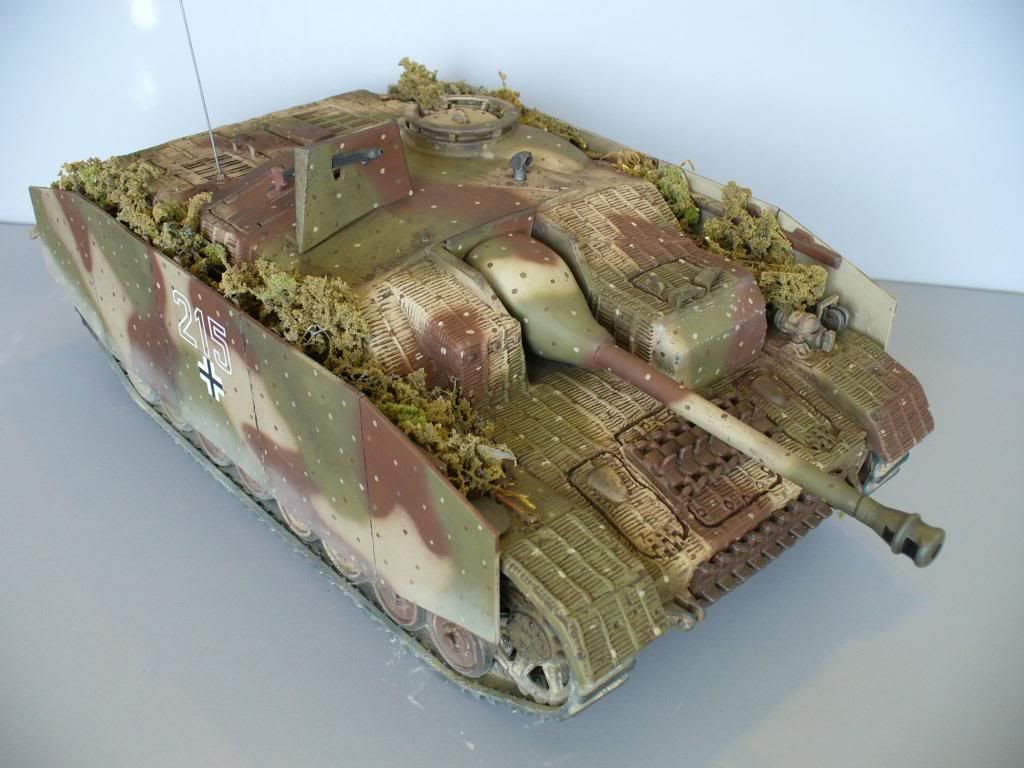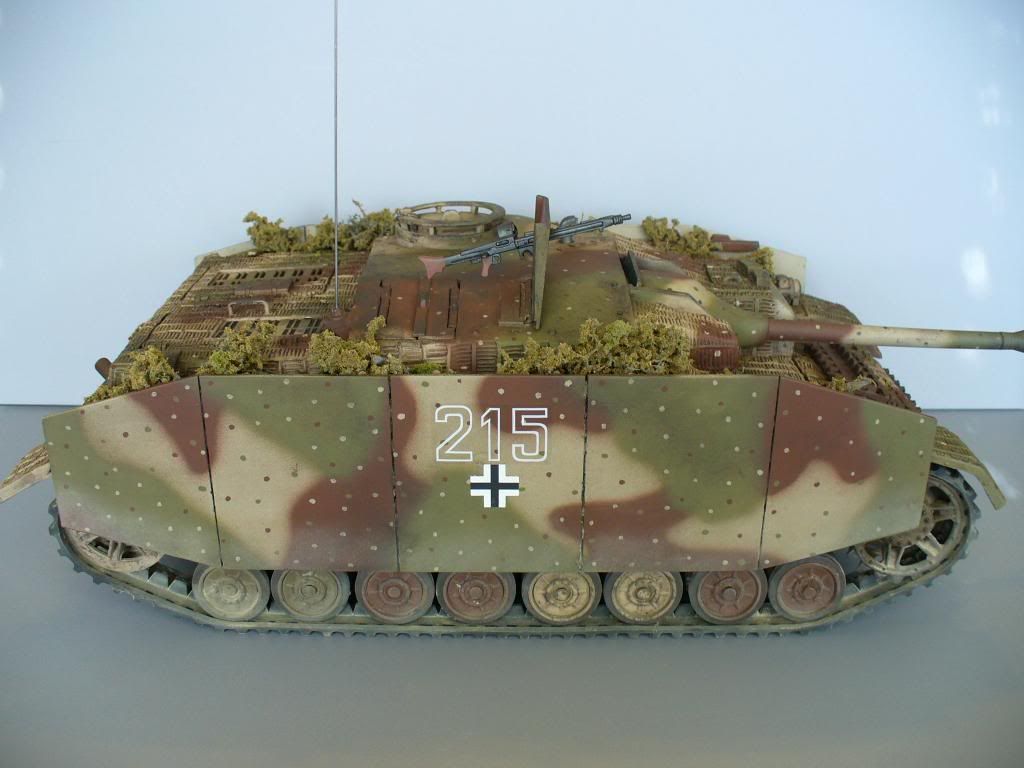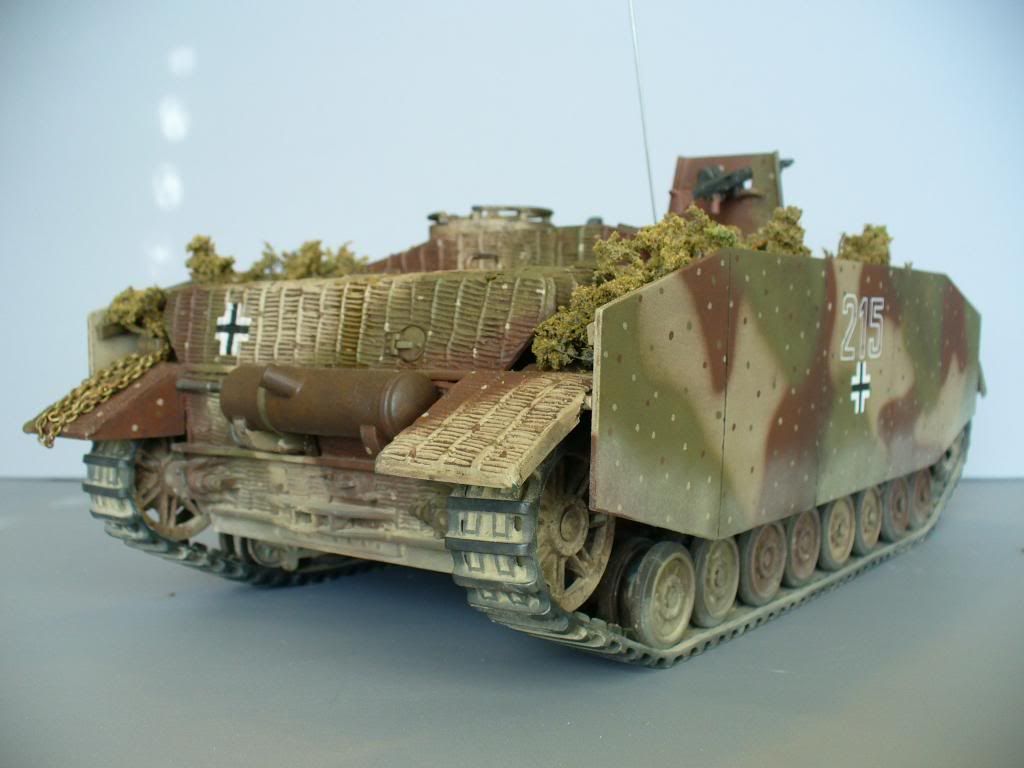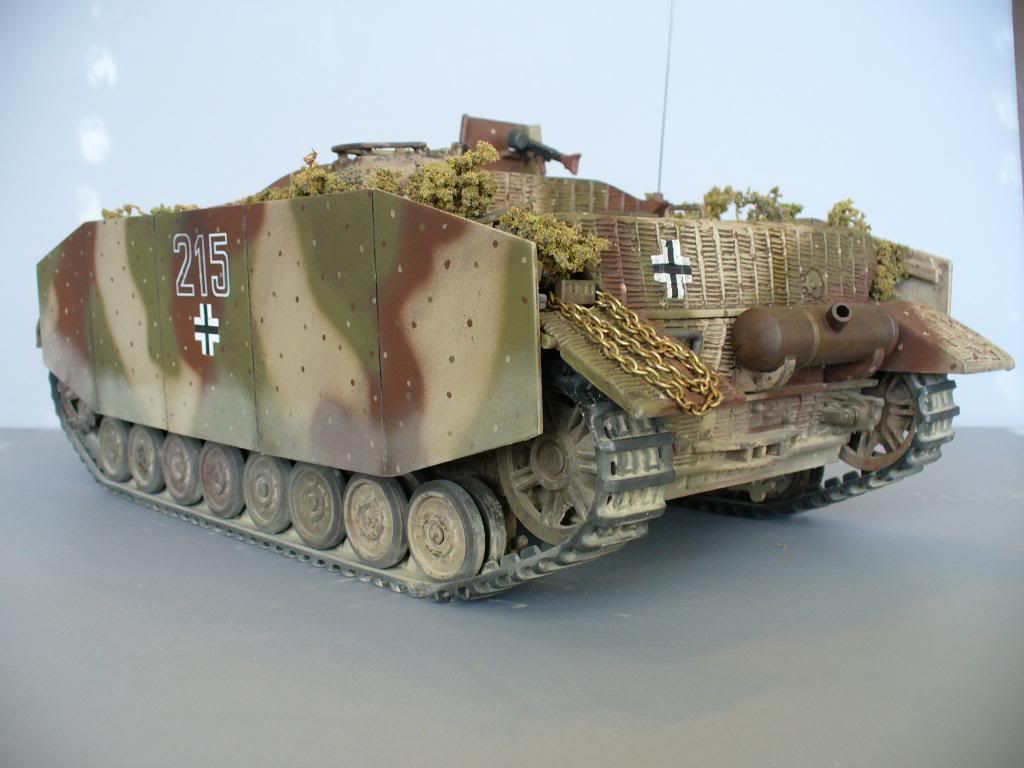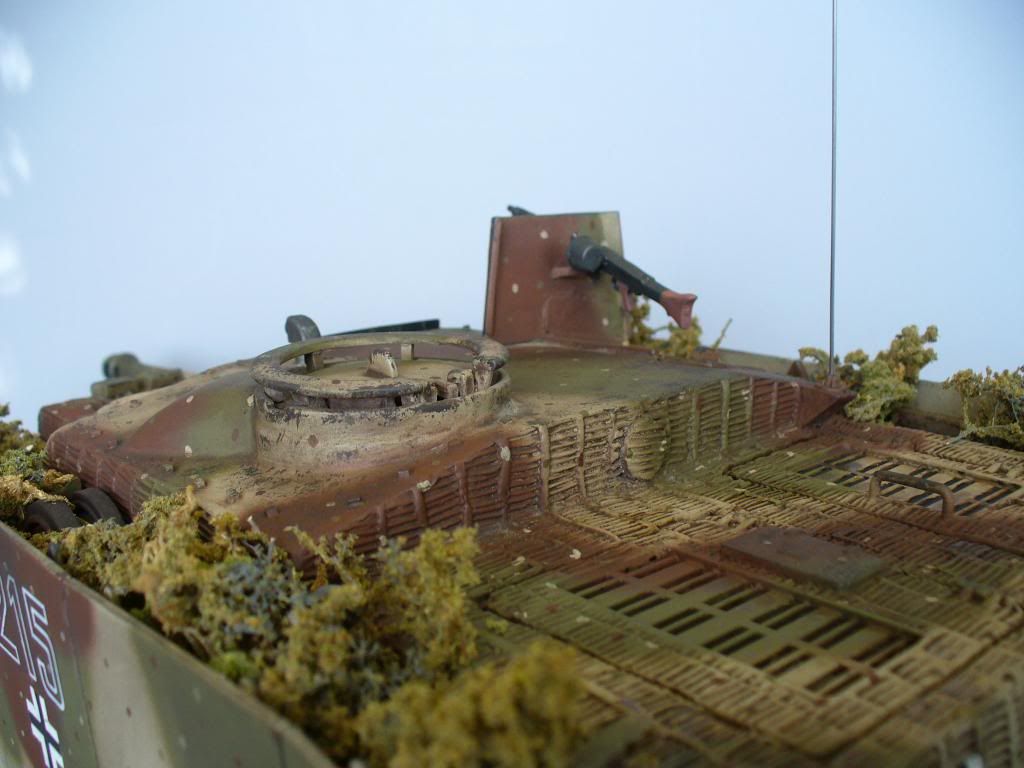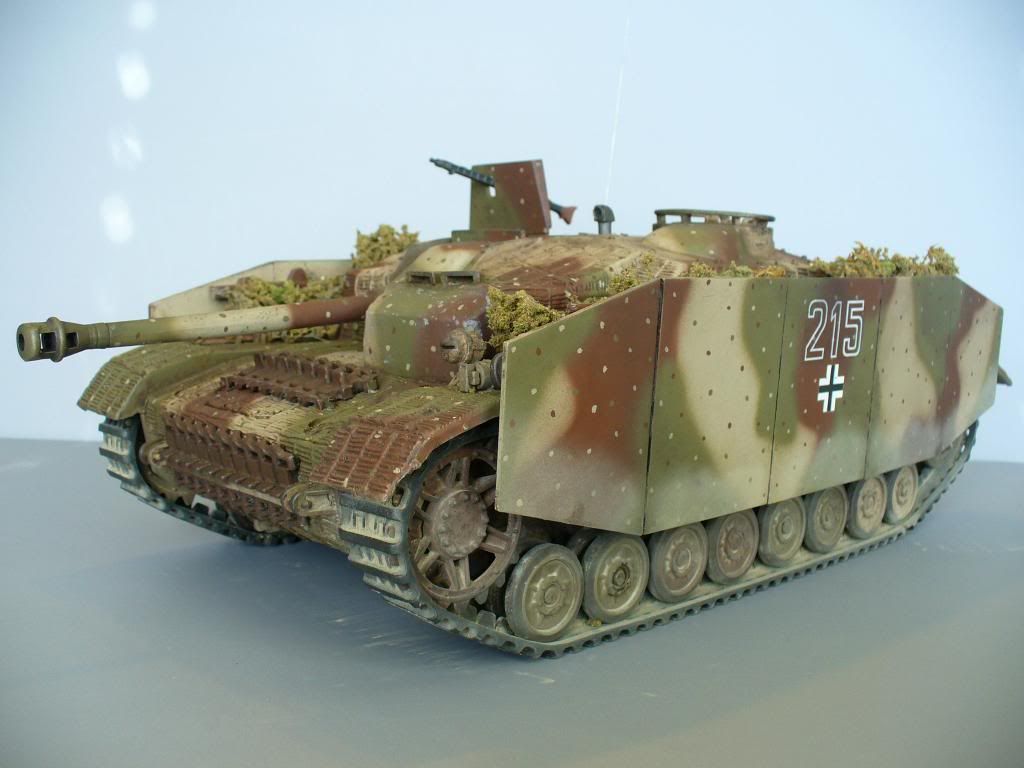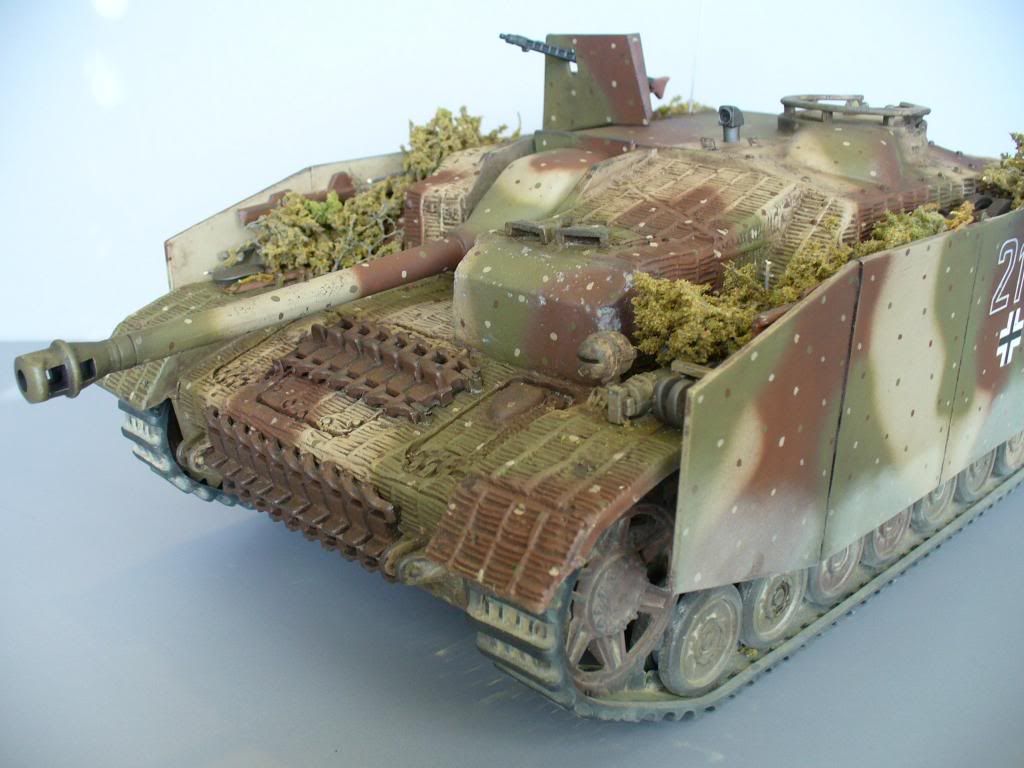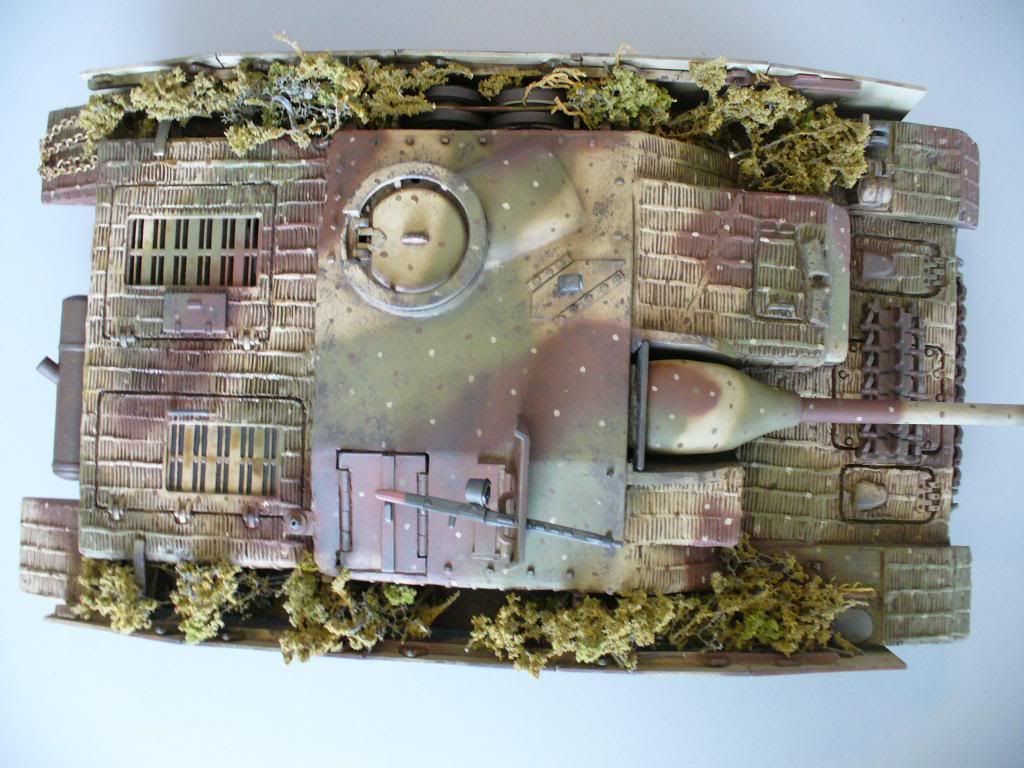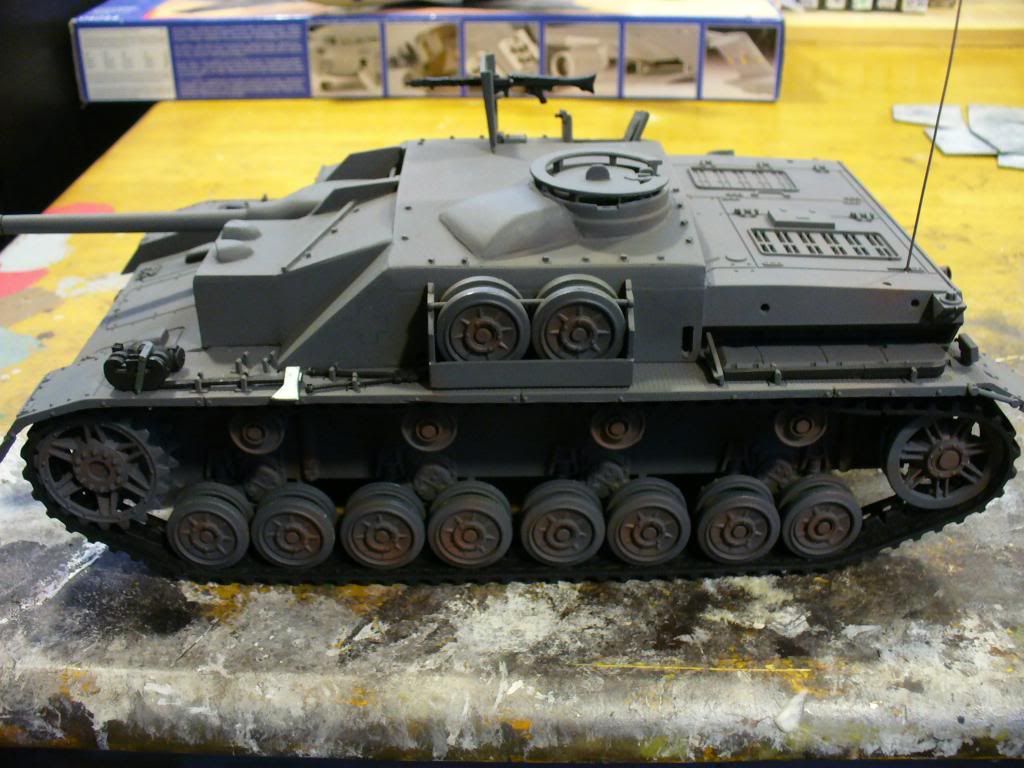
The Stug was well made! however there were visible build lines between parts. These could have been removed by further putty and sanding on my part but I decided to go the Zimmerit path instead.
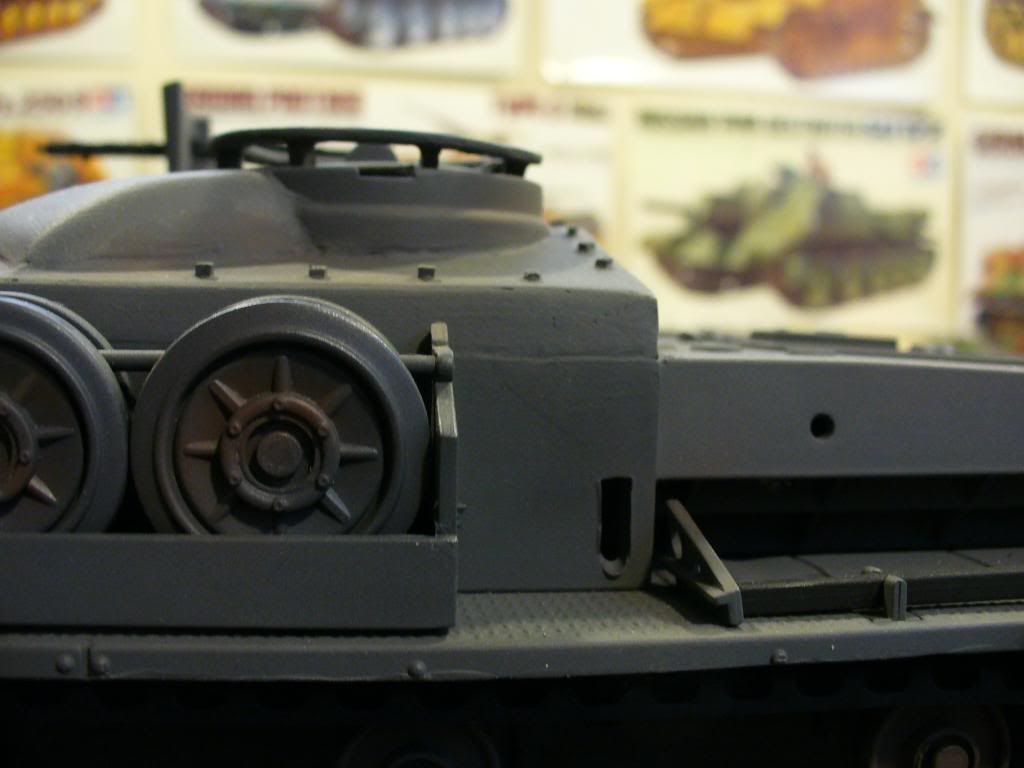
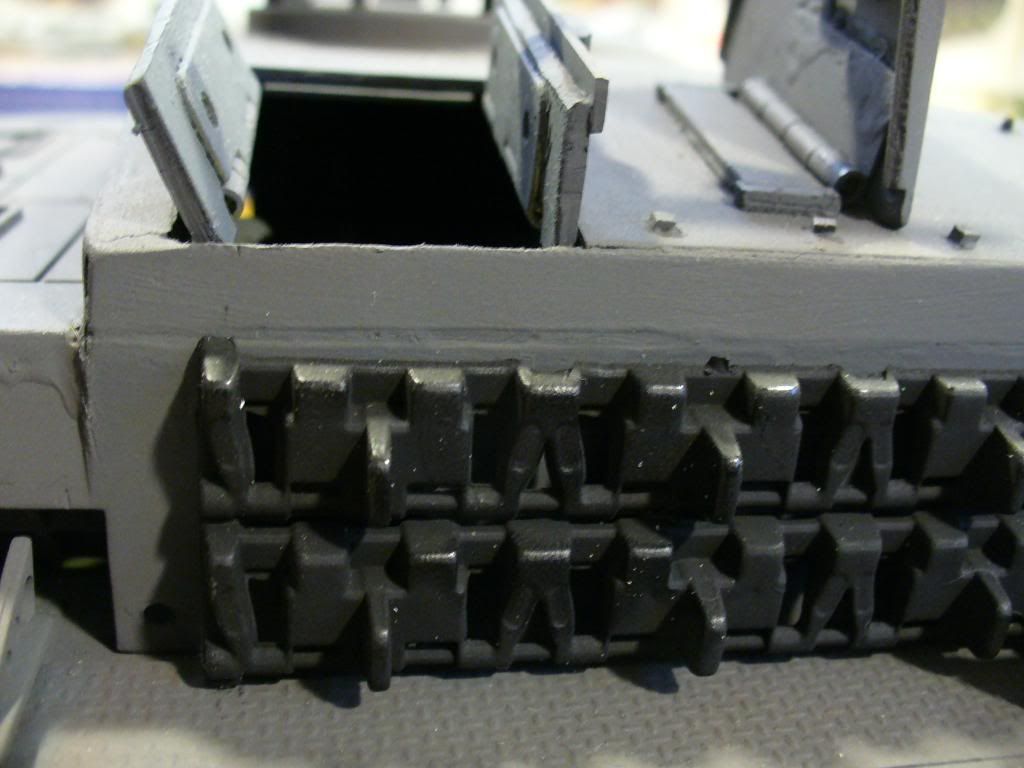
Overall the build is well done and built solid!
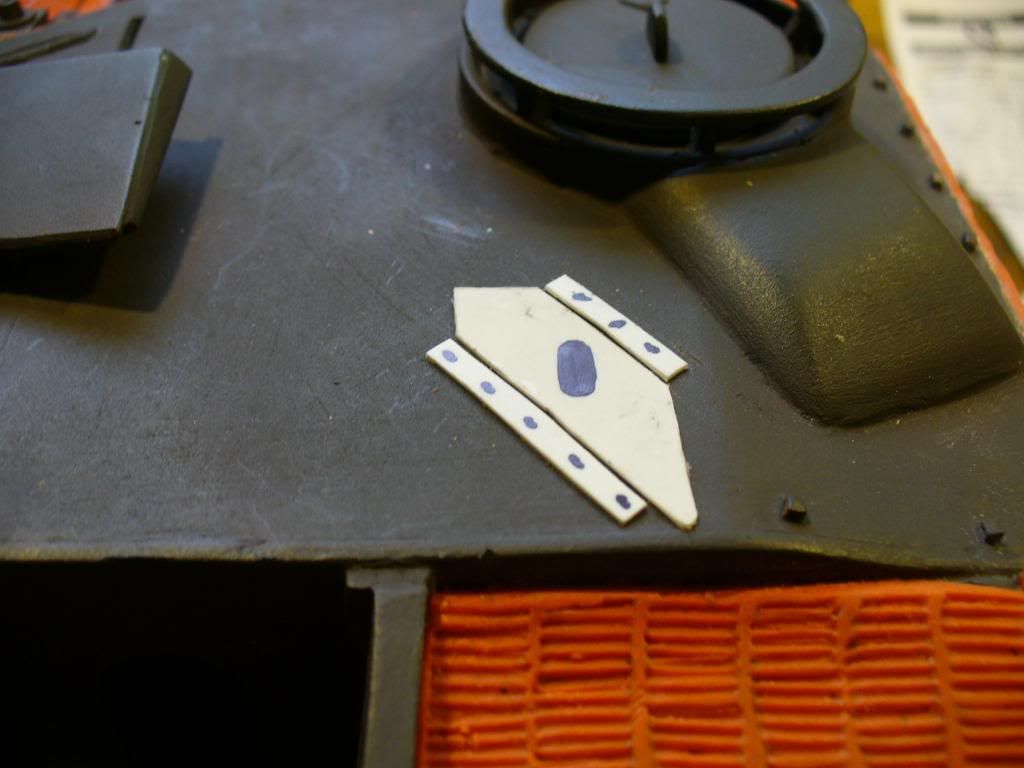
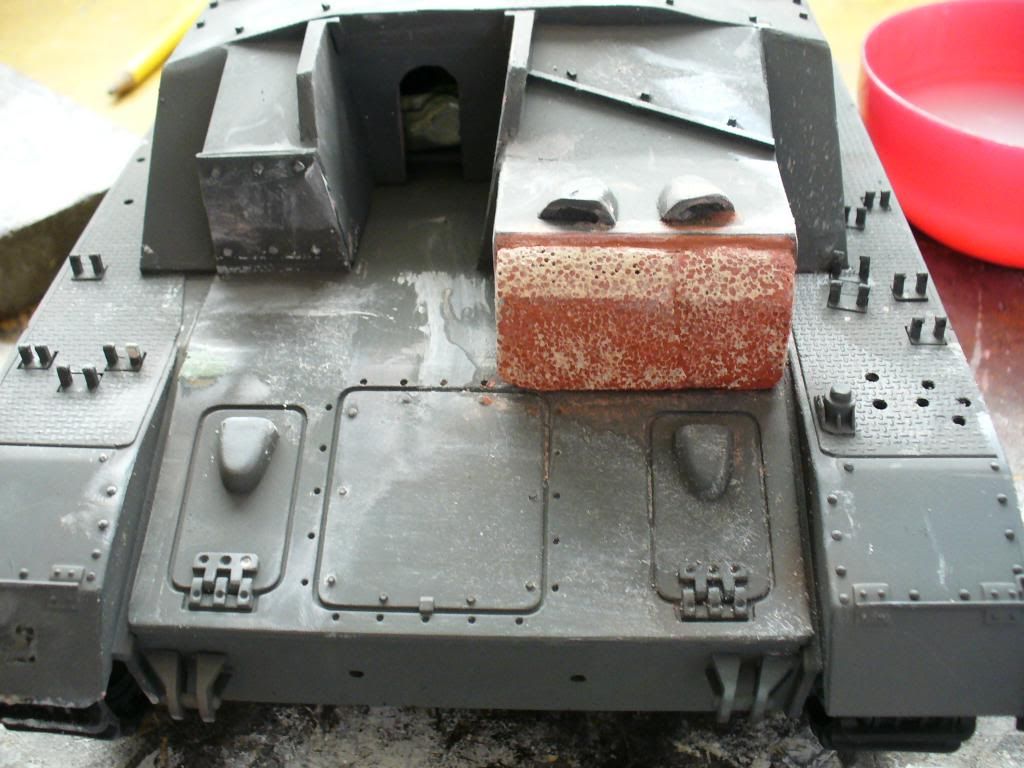
The drivers hatch was never made, the drivers telescoping view finders were to large and of the wrong shape and so they will be deleted. The driver’s station was further protected by a concrete slab that was also not included.
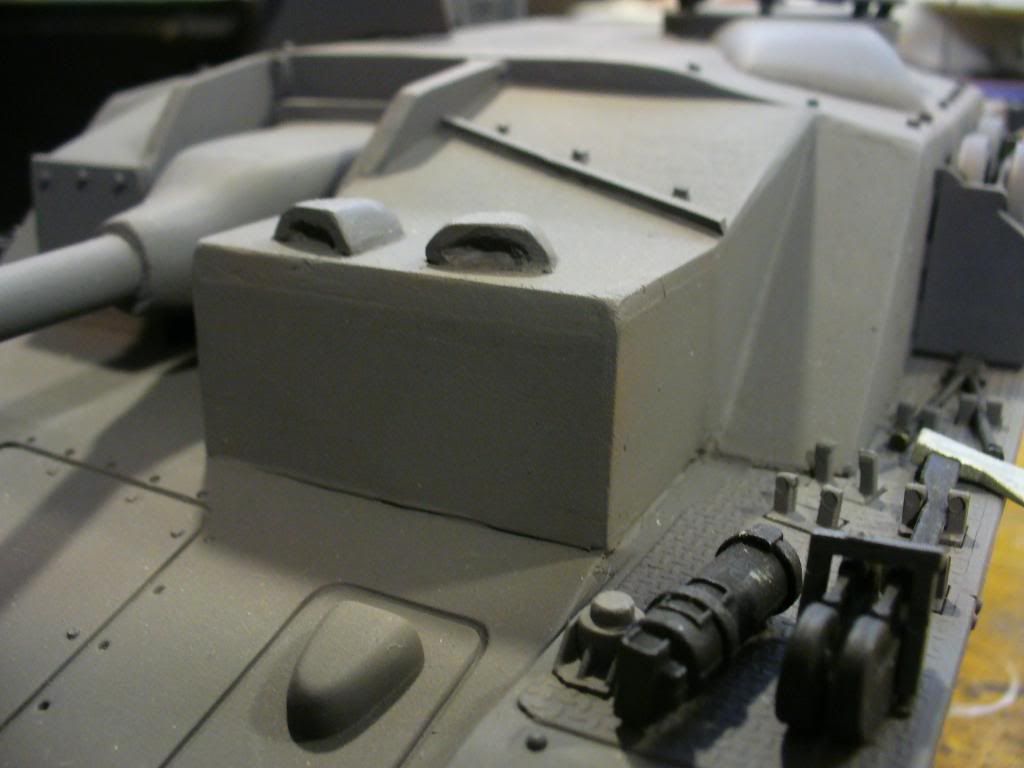
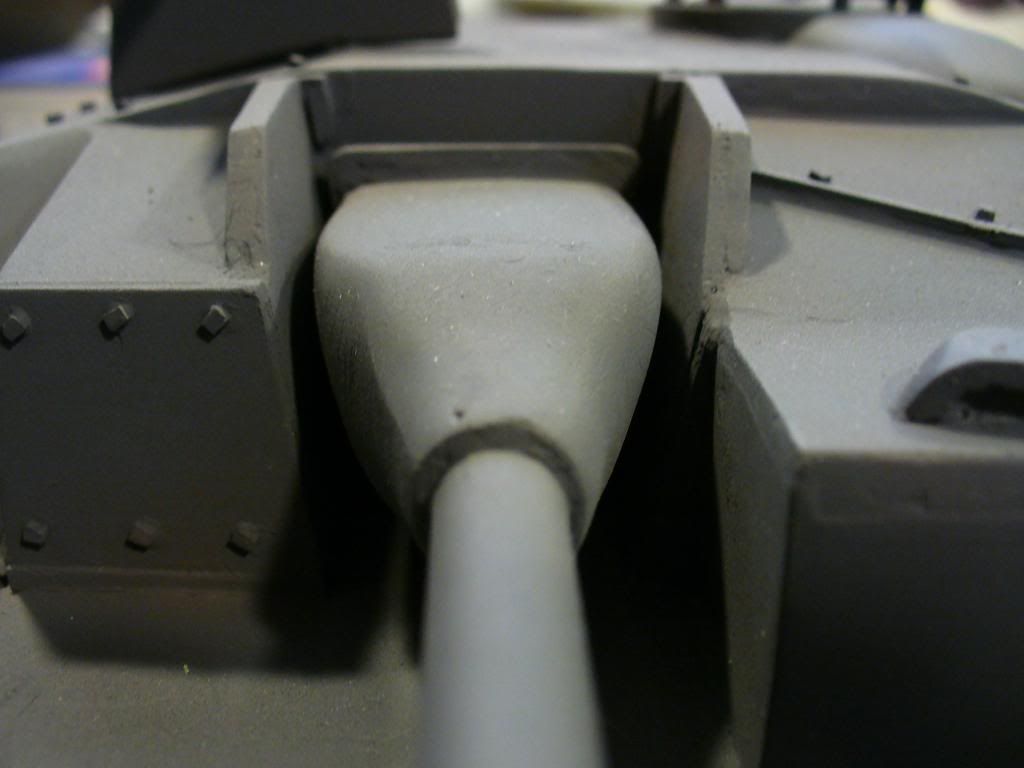
The gun mantle was to small in the rear and needed to be built up more and attached to a larger back plate.
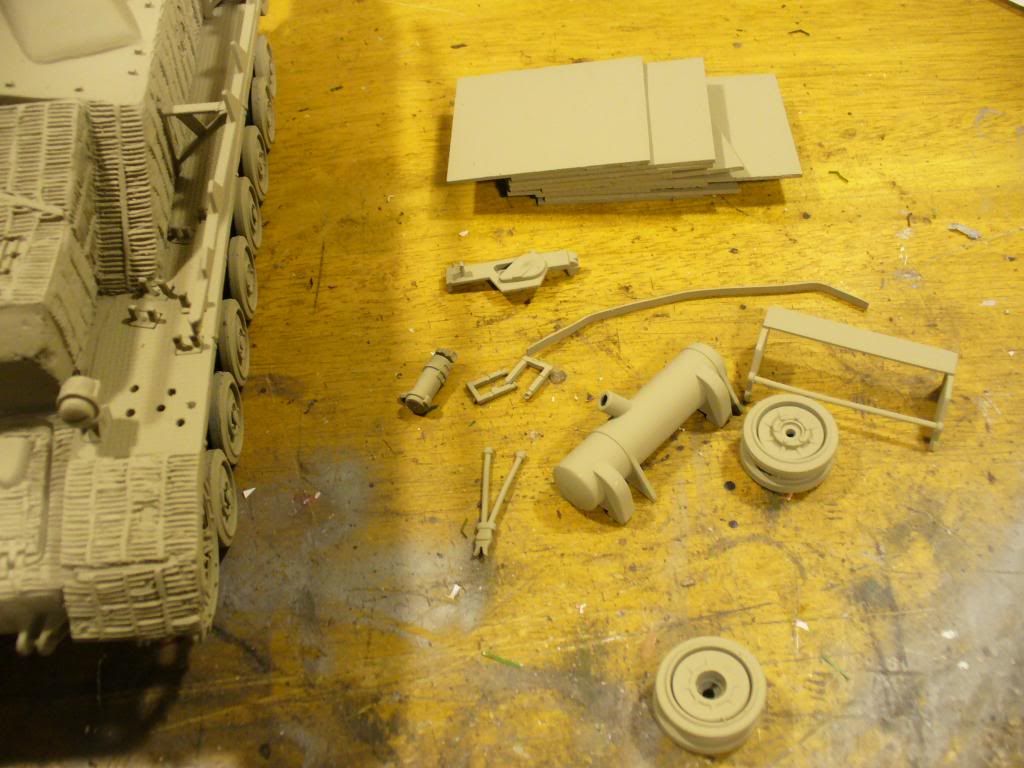
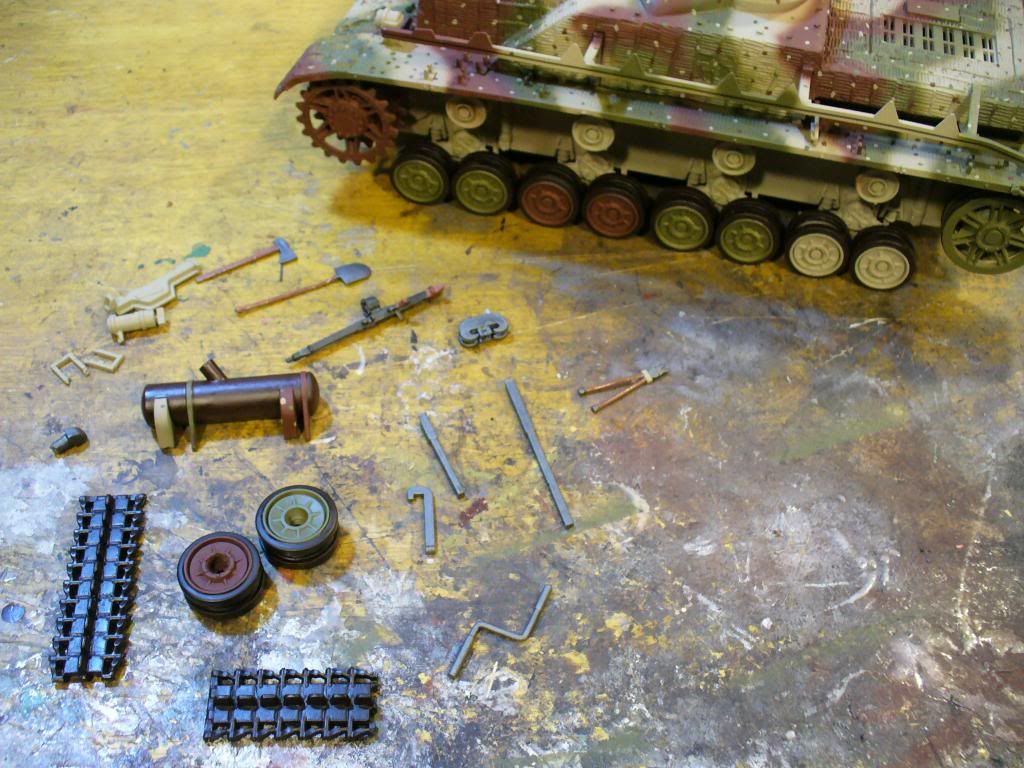
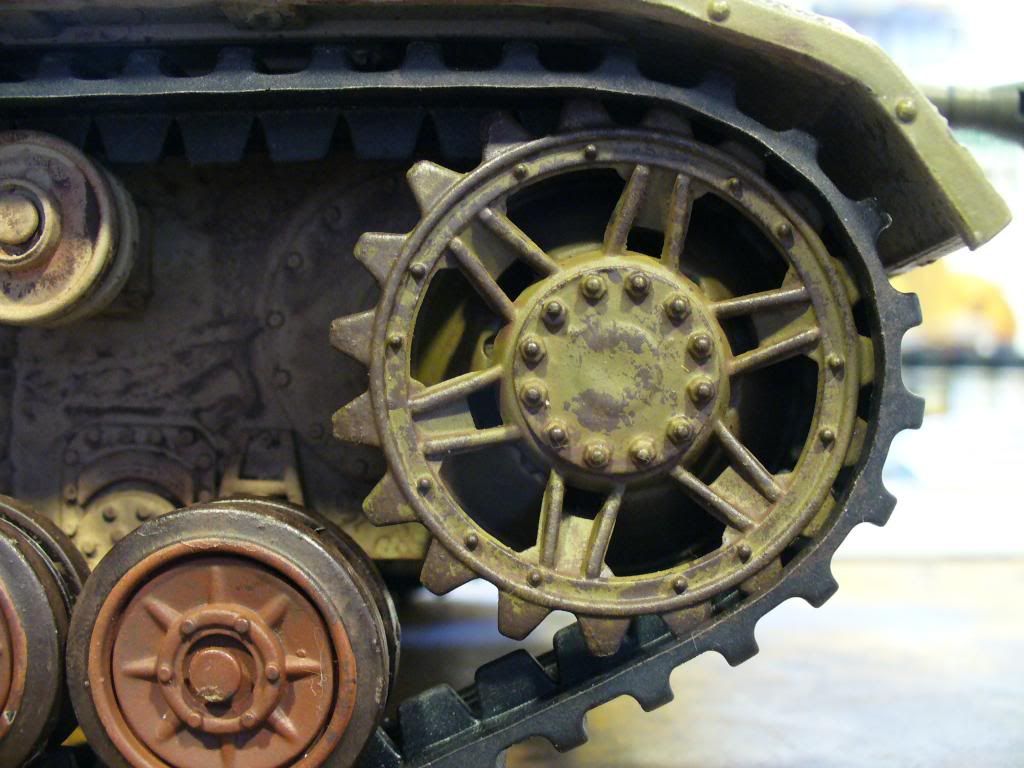
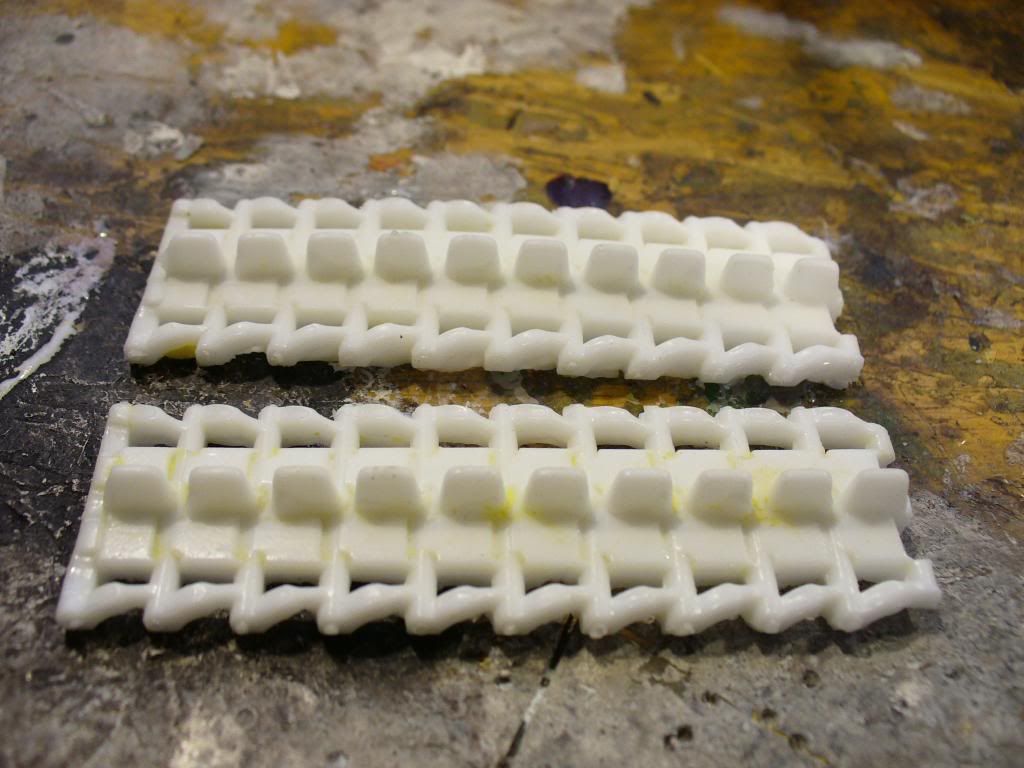
The extra tread that came with the tank was inaccurate and does not match the correct tracks on the tank so it was removed and replaced with two resin copies of the correct tracks.
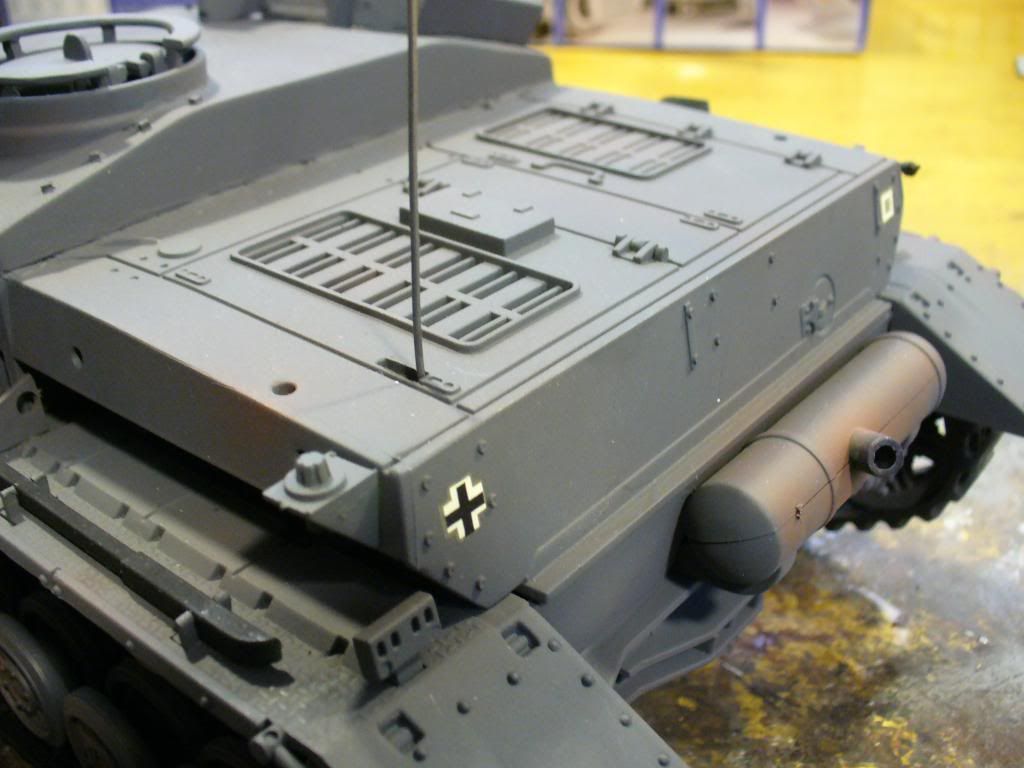
The RC antenna will have to be clipped and the antenna box moved to the back of the superstructure.
The work will start on the concrete slab for the driver.
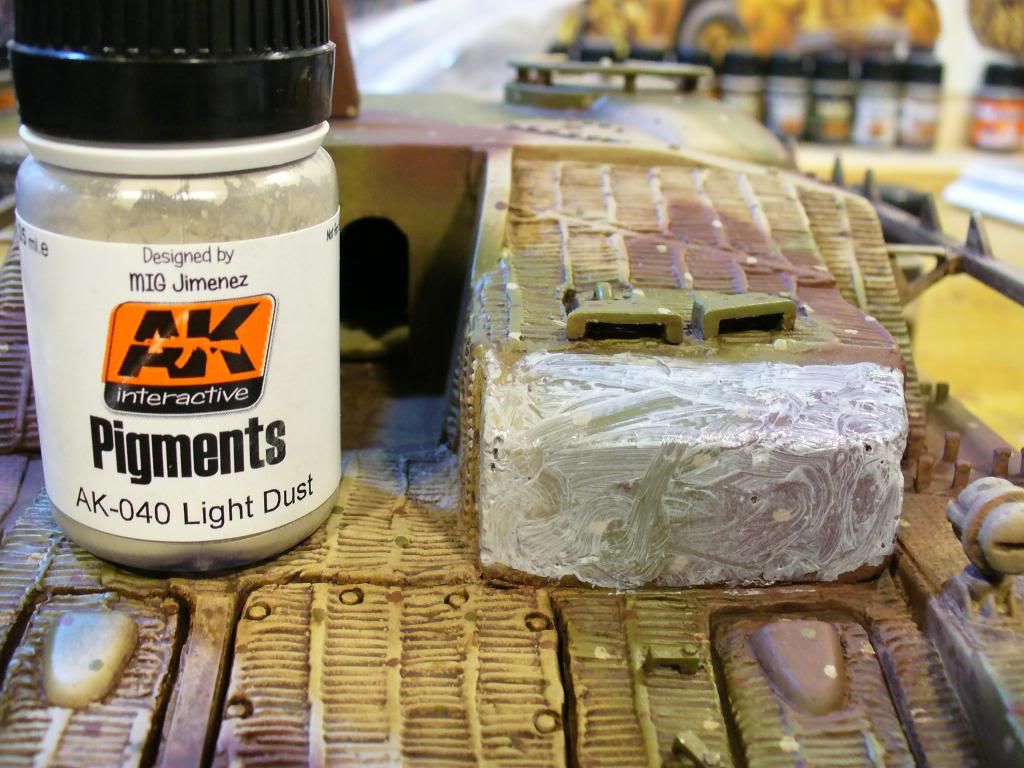
There are many ways to do this, this may be stranger and perhaps more difficult than most but in my opinion achieves the best look. When looking at photographs of Stugs IV’s in the field the concrete have a distinct pitted rough look that is difficult to replicate by simply scaring plastic and so here is my solution.
• A common pumas stone that can be purchased in most stores,
• A tube of Bondo spot putty (don’t bother with Squadron Putty)
• Dremel cutting tool
• Sanding sponge and water
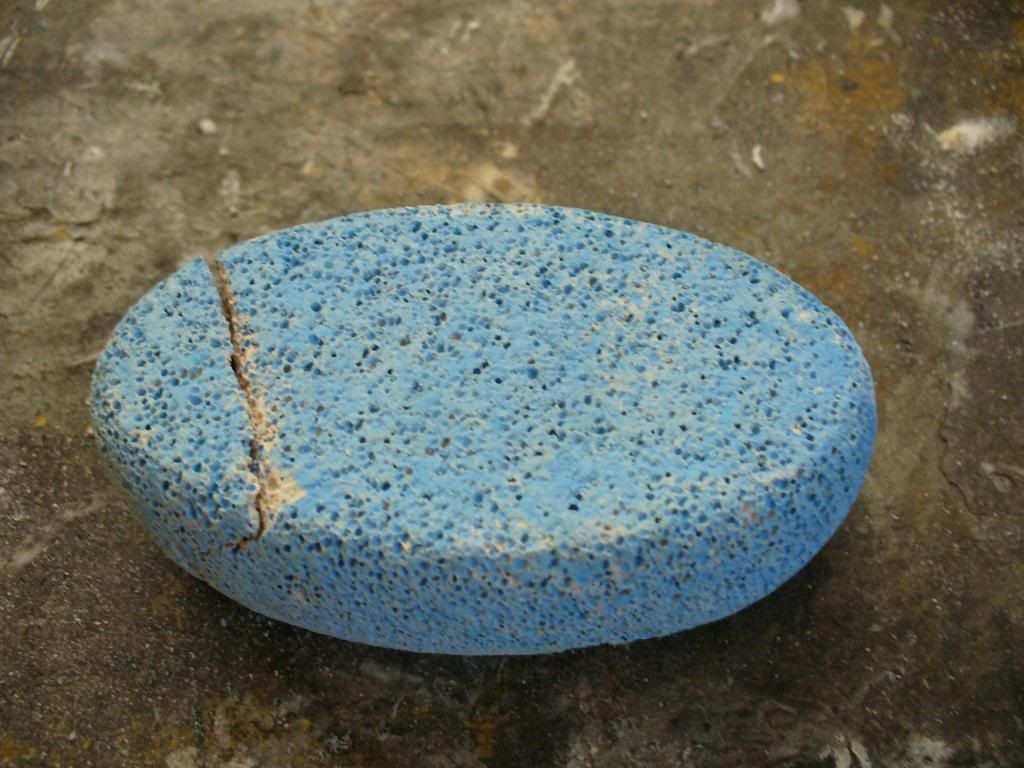
First cut yourself a block out of the stone, it is brittle and cuts easy but produces a lot of dust so wear a mask.
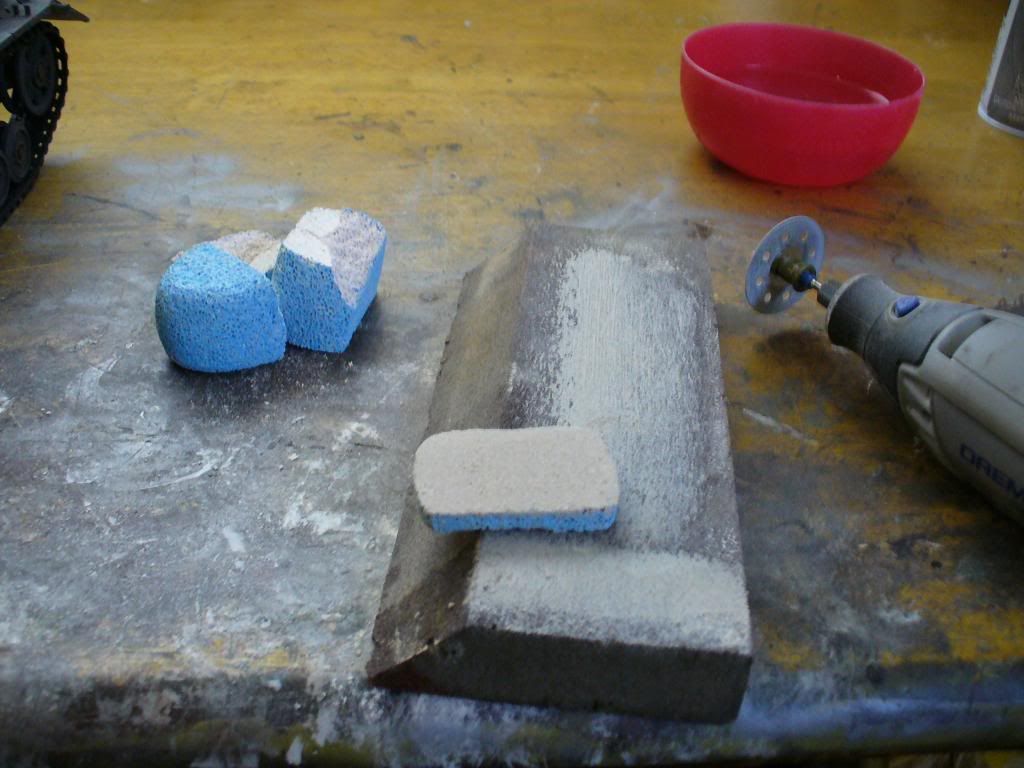
Then wet sand it till it is more or less smooth, be careful it is brittle and breaks easily, if you look close you can see that mine already broke in two and was glued back together which is ok, it won’t be seen.
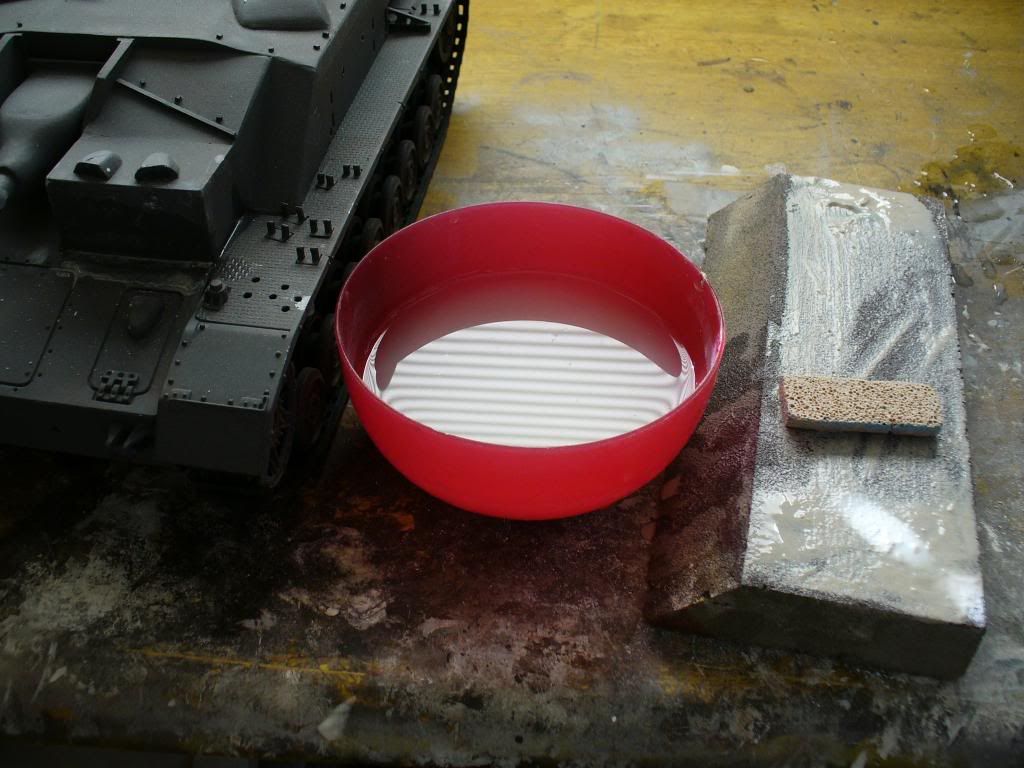
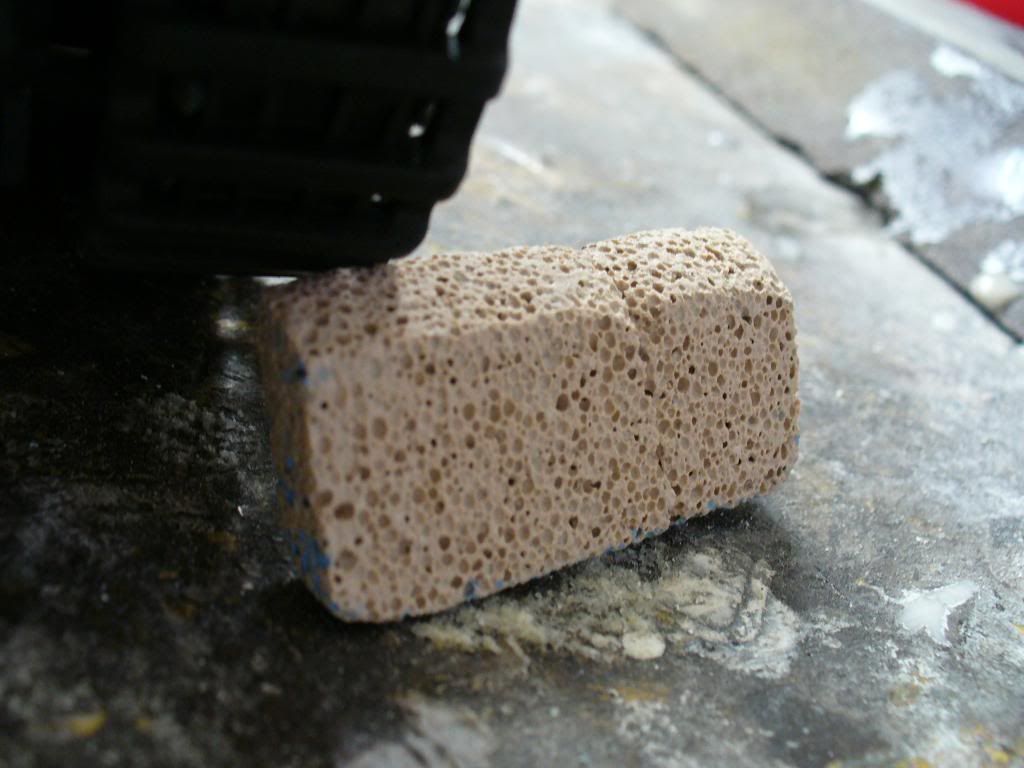
Keep wet sanding and checking for fitment until it is just right.
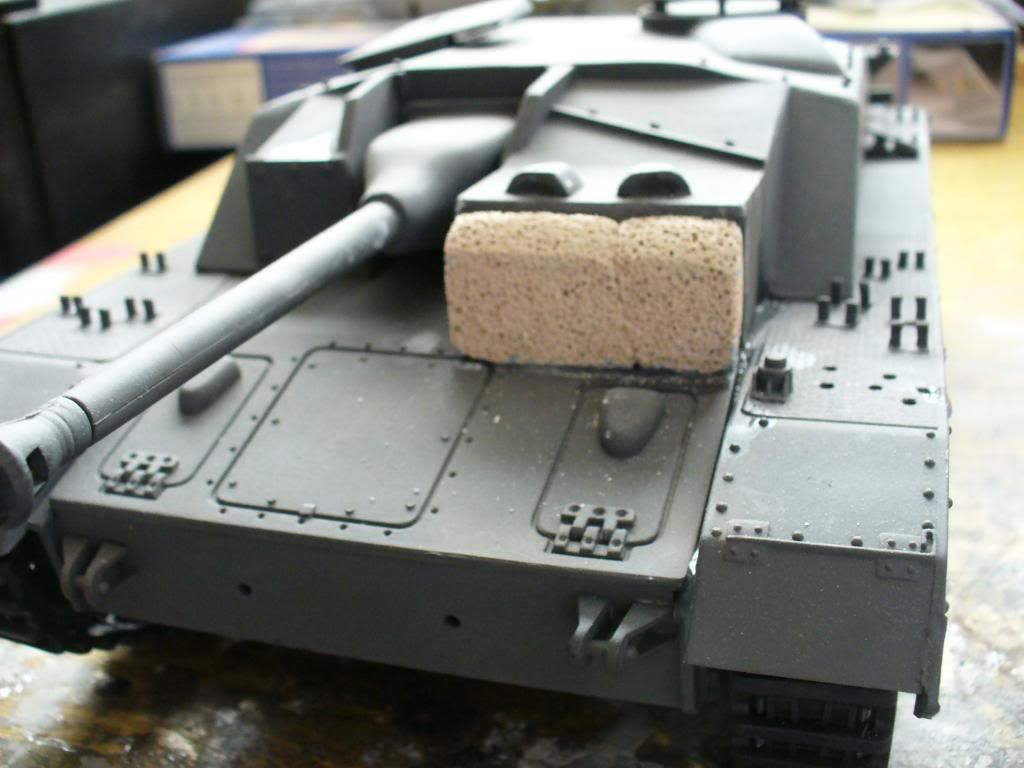
Then rub on the putty, not to thick, wait for it to dry and wet sand the putty down but don’t go into the stone.
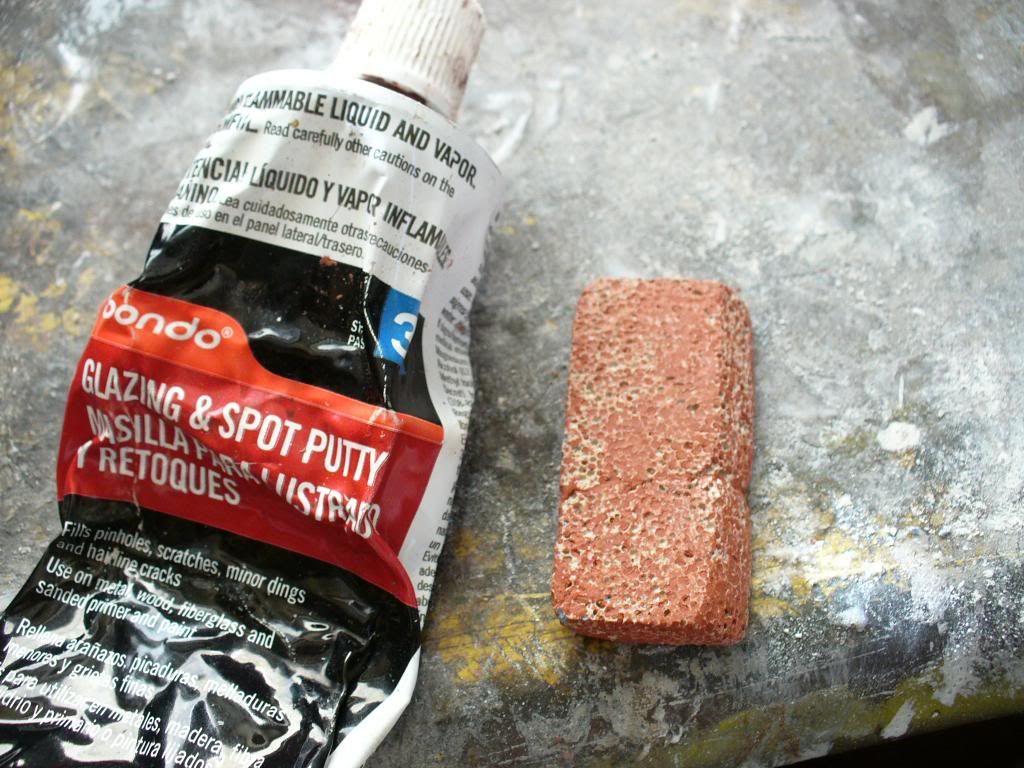
Then glue it on and putty again, once dry, wet sand again.
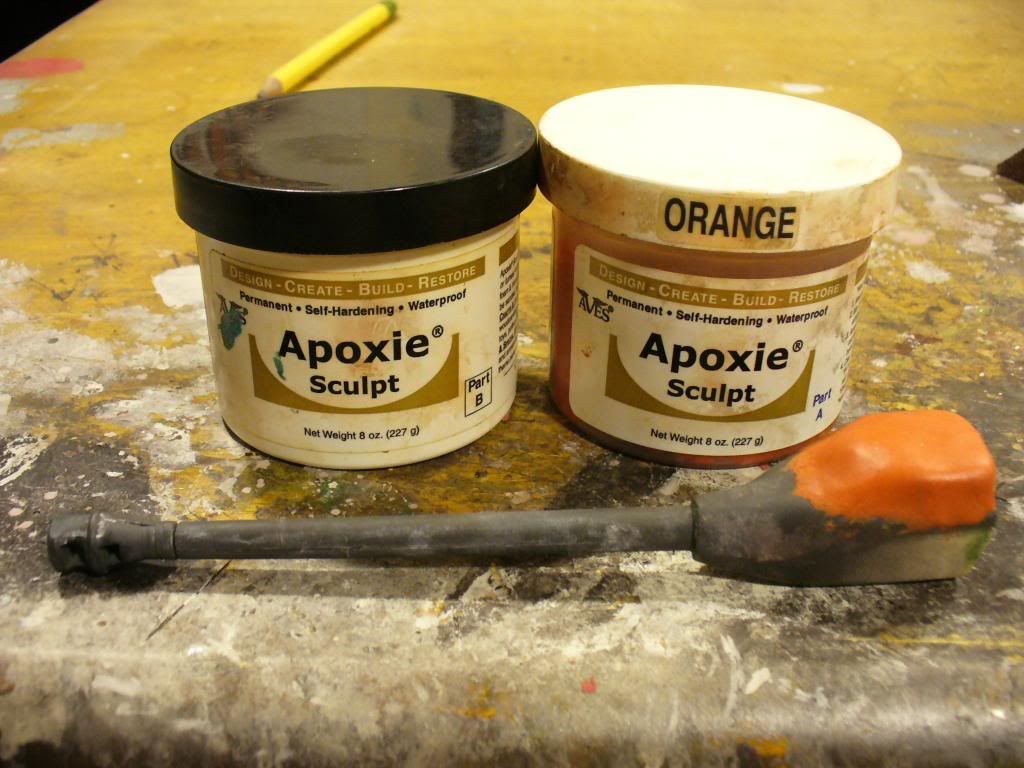
Now we are ready to do the gun. Use only Aves Apoxie Sculpt. It is better than anything else in my opinion. Form it up to desired size and shape and after it has hardened wet sand.
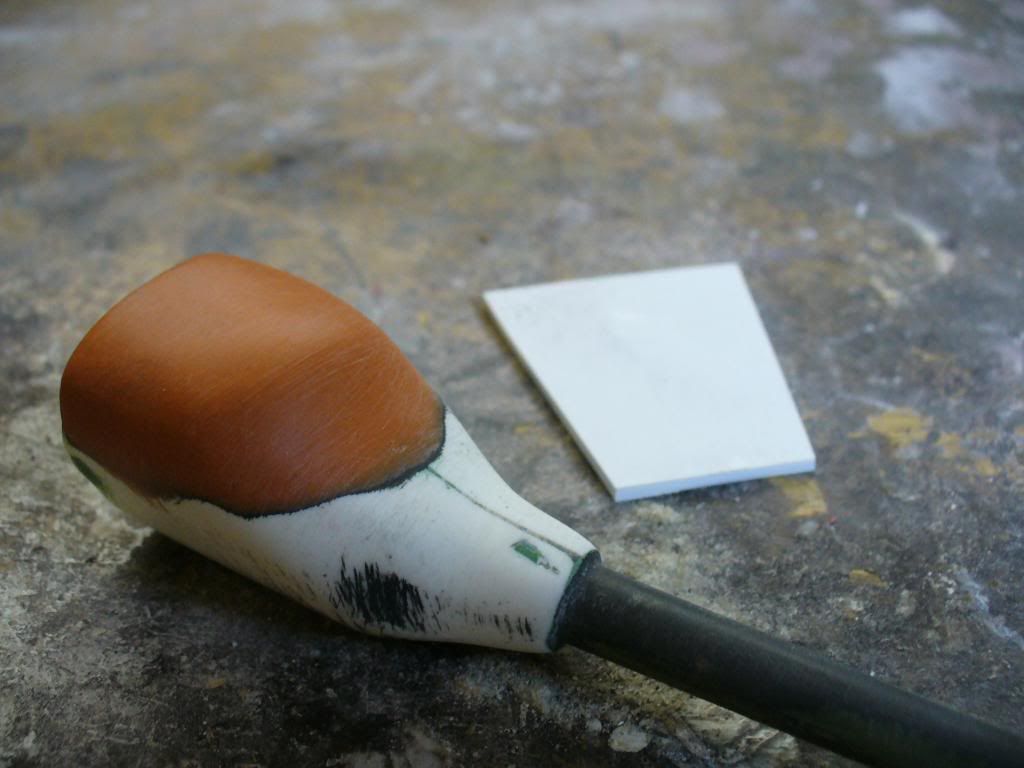
After sanding it should look something like this. Then glue on your freshly cut back plate.
Then primer and test for fitment, I sanded the primer also so you can see the uneven spot appear in white. After the gun is done start checking fitment for the side armor but do not attach the gun.
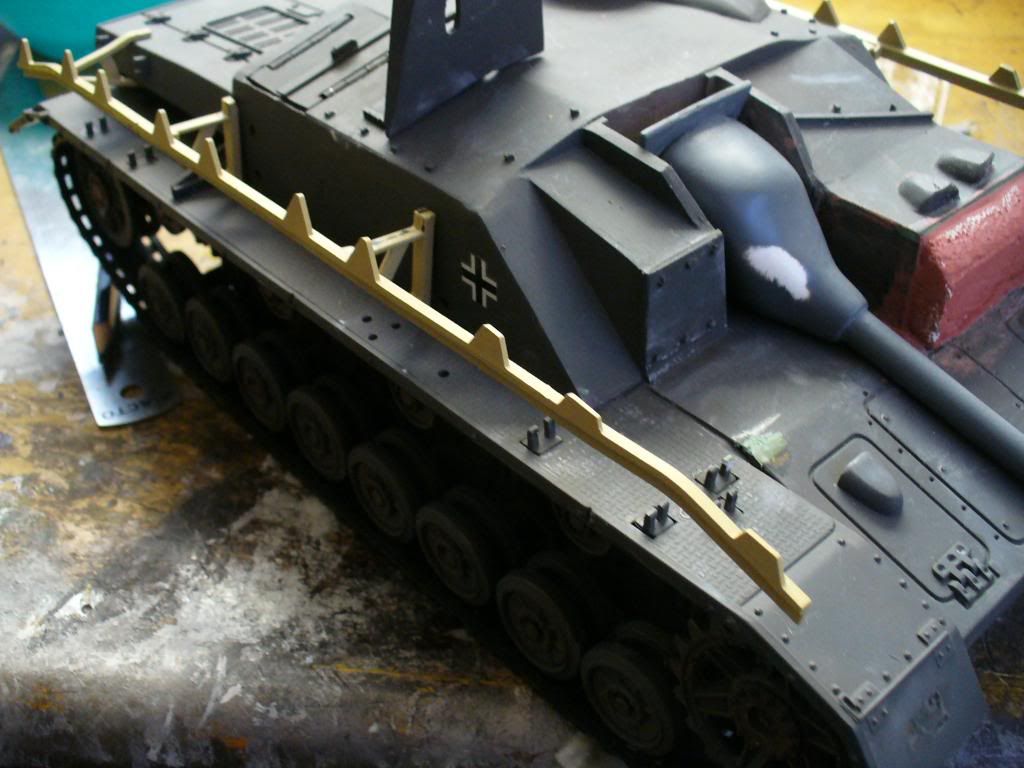
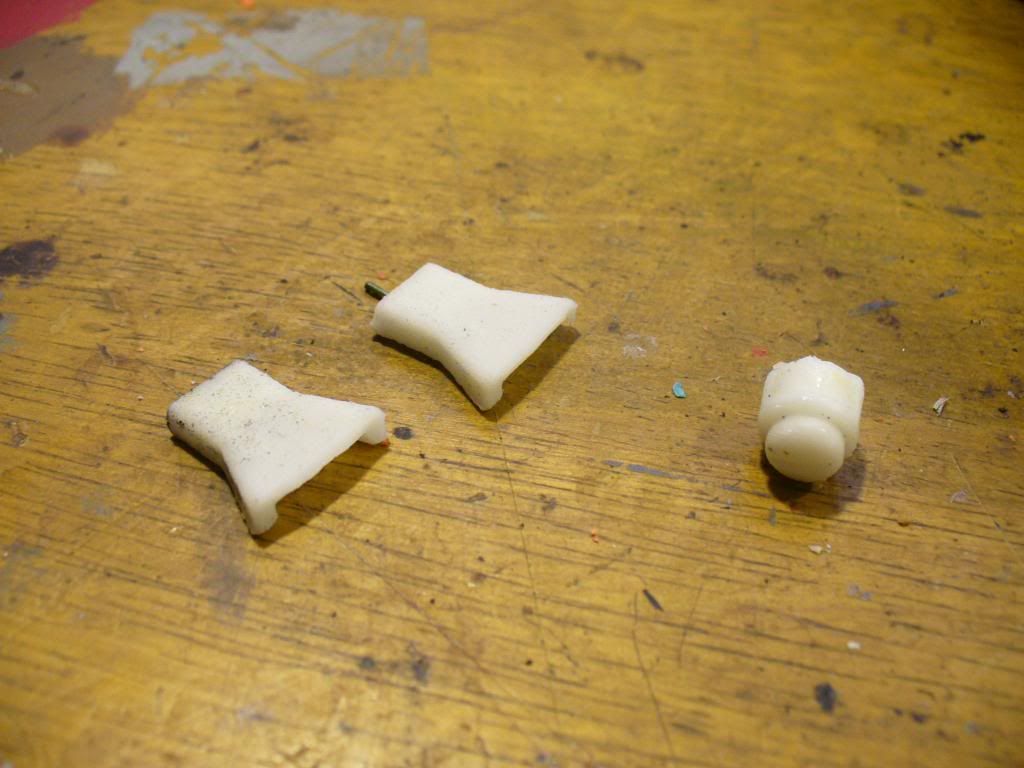
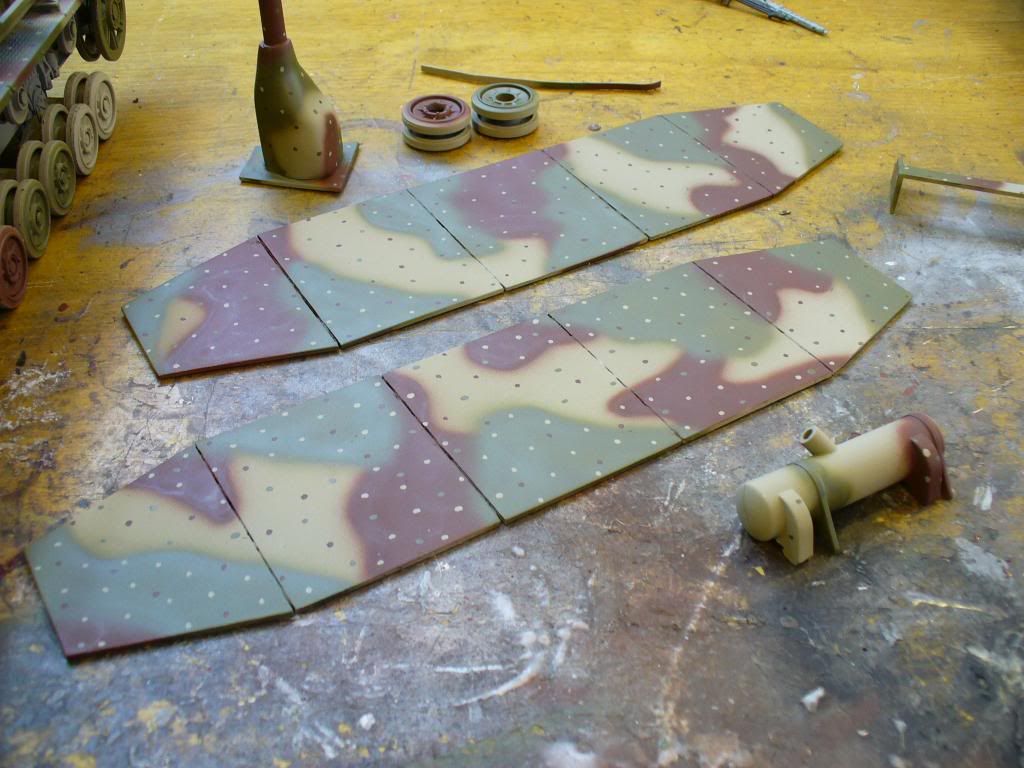
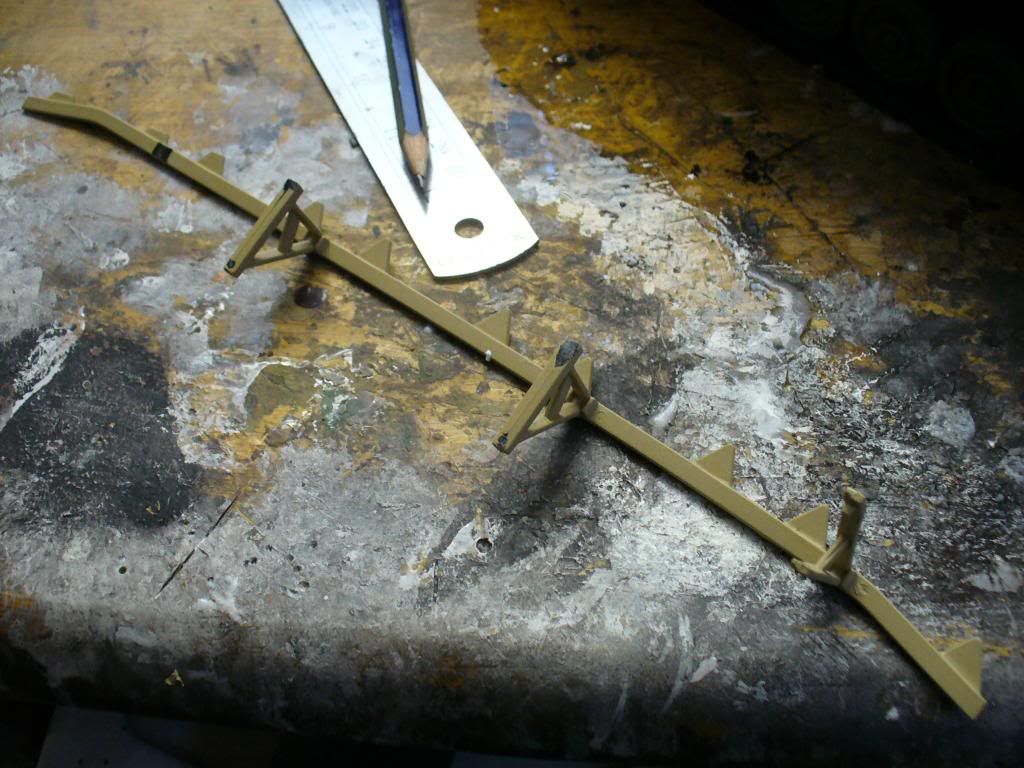
I’m using the bracing that came with the 21st Century Panzer IV. The front brace on each side should be removed and once that is done it will look like this.
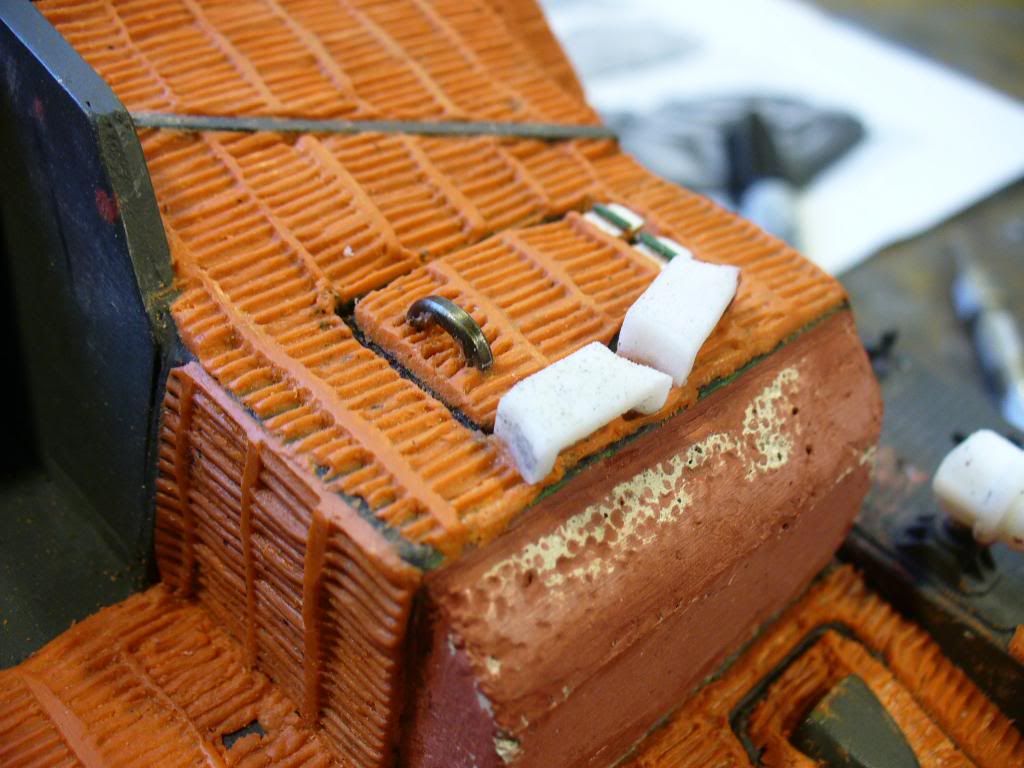
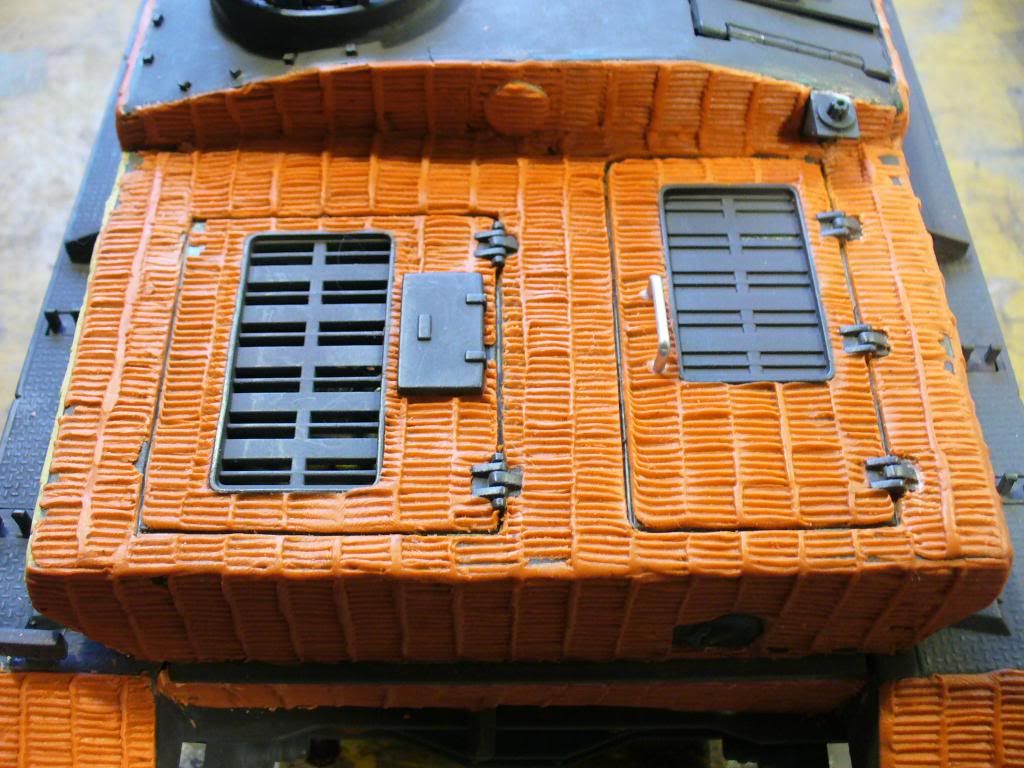
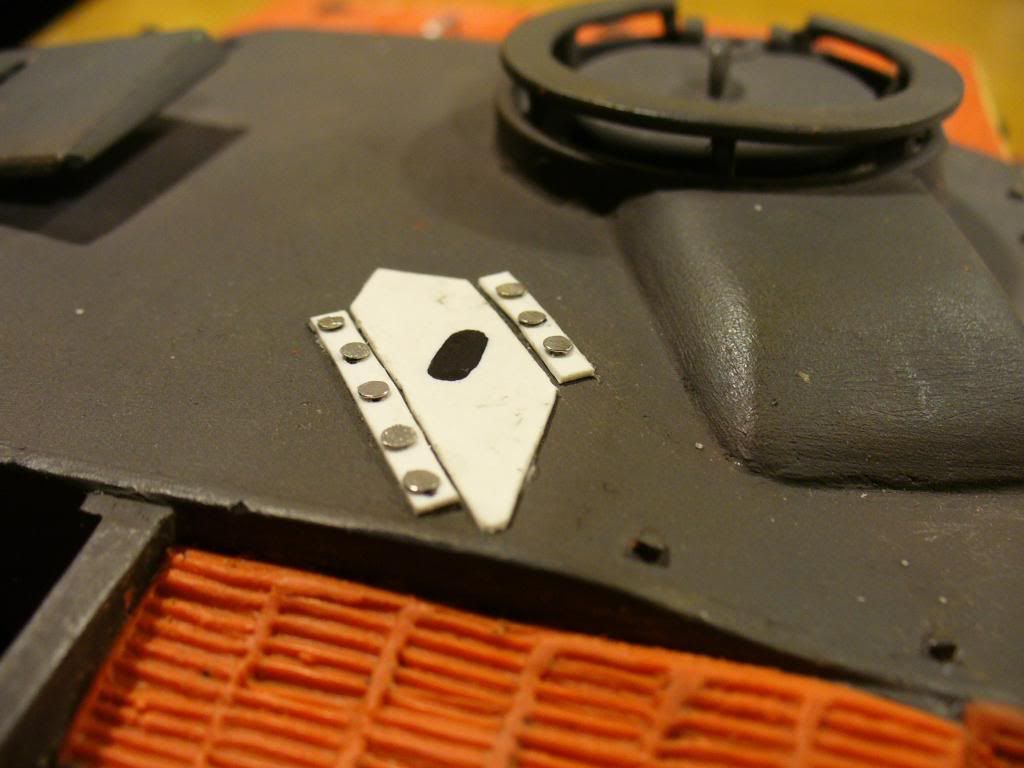
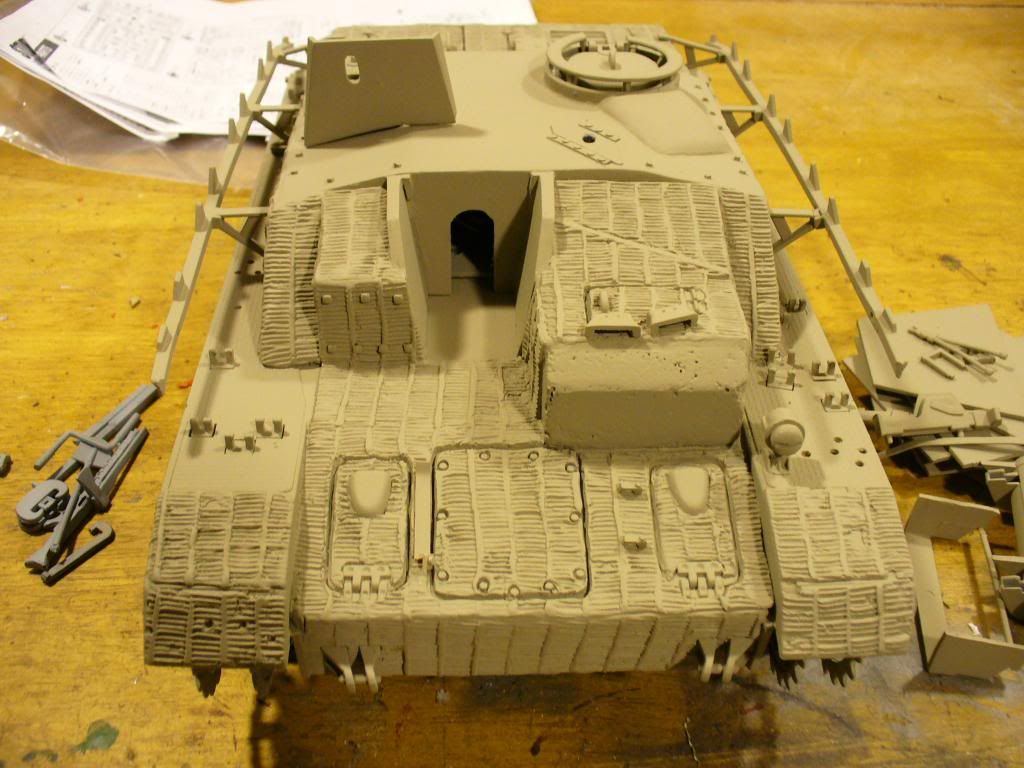
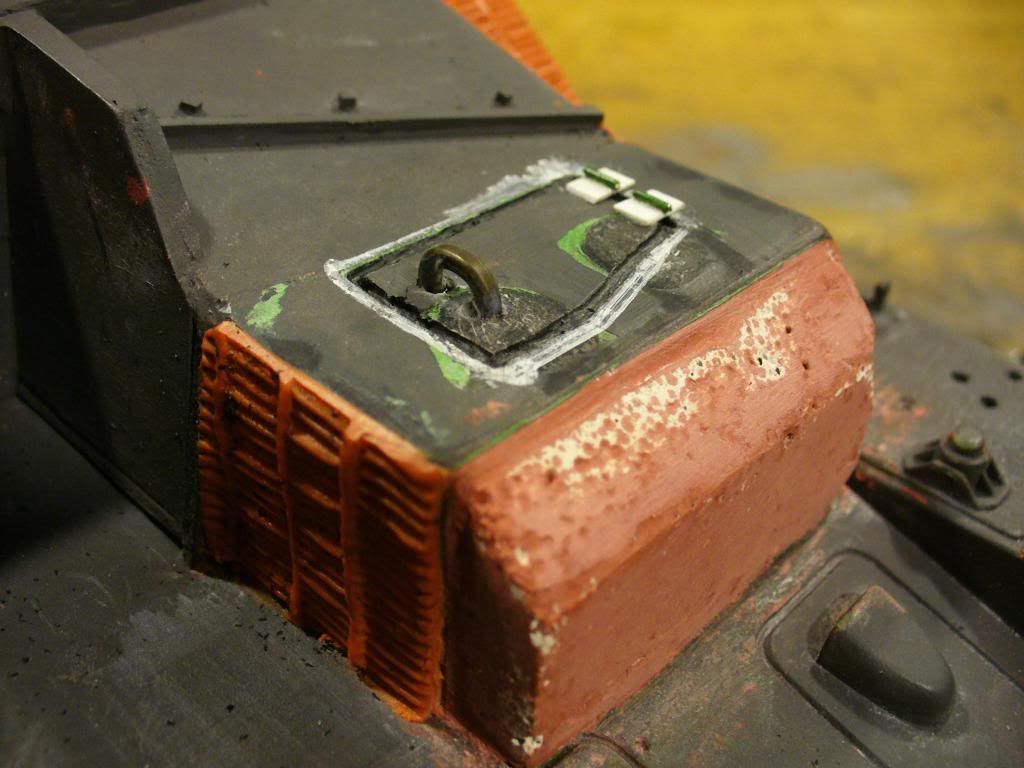
Back to the drivers hatch where I etched in the hatch door and then inserted a handle and fake hinge. You can see I have started the Zimmerit already in some areas.
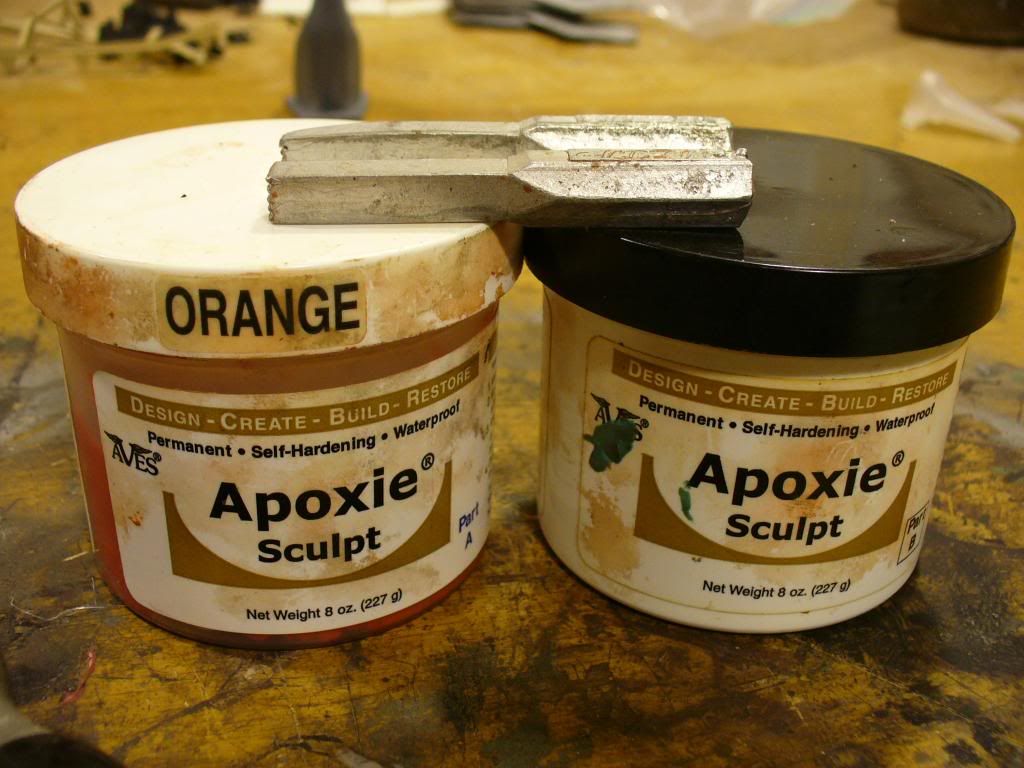
Doing the Zimmerit is not easy but is simple enough if you have the right tools. Again use Aves Apoxie Sculpt. Do not bother with Milliput, its not as good and its often clumpy. I use a series of stamp made by Imperial for 1/16 armor but works fine on 1/18, it’s the best tool for the job. E-mail the company and they will sell you a set (make sure your email is in German).
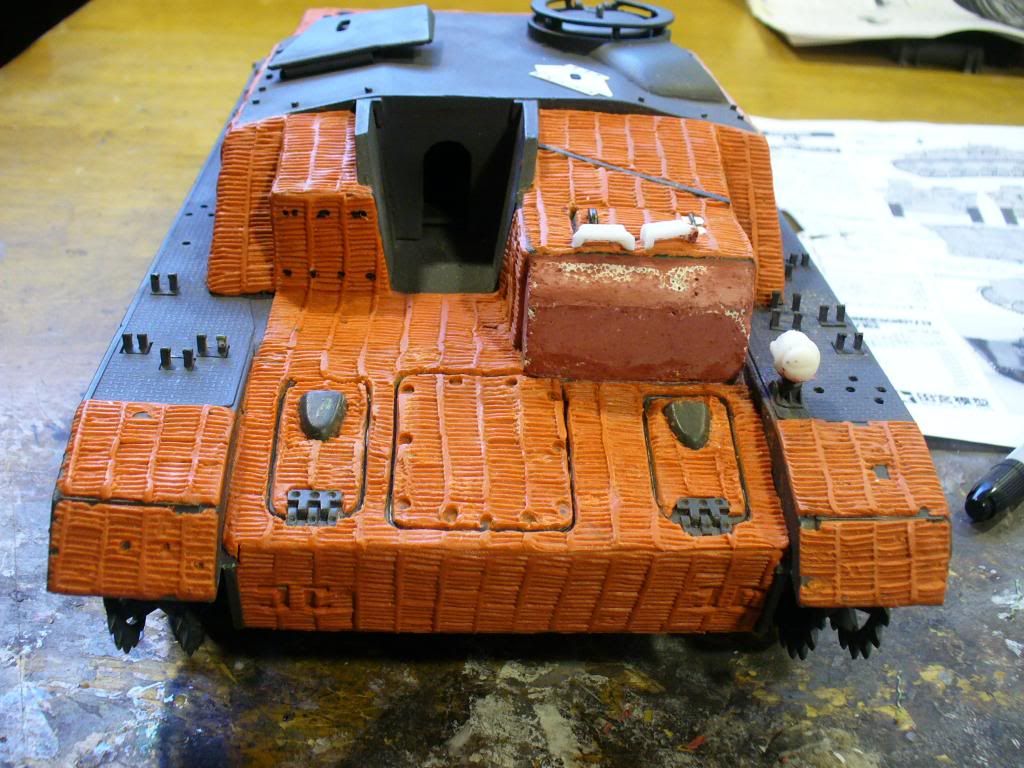
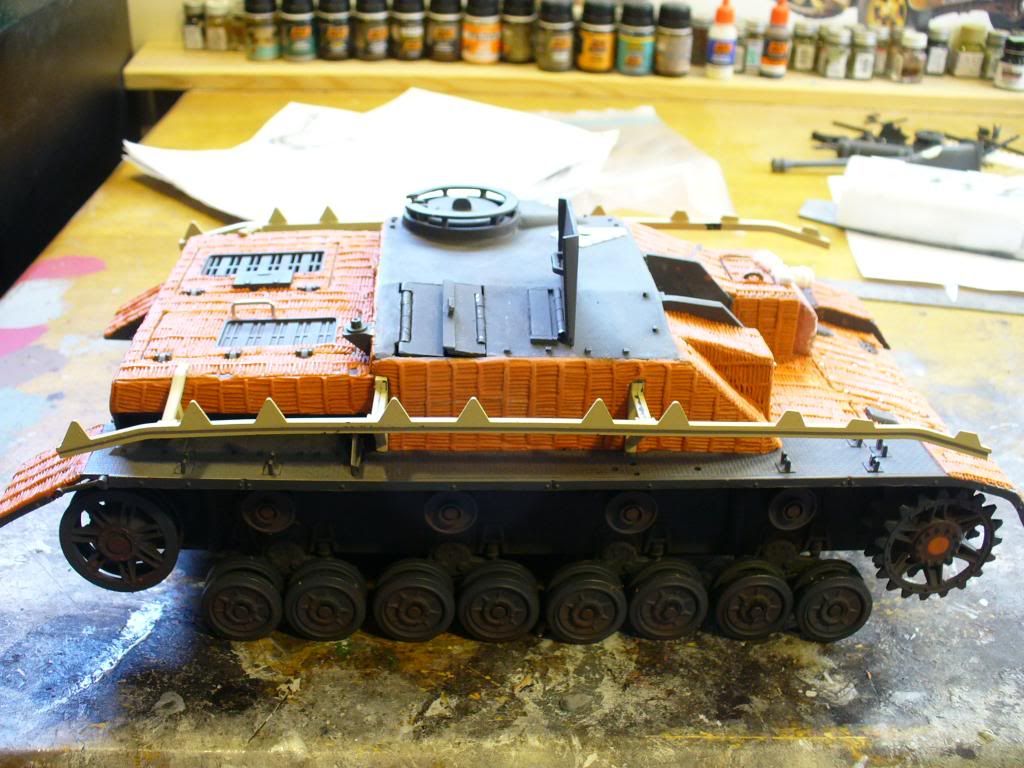
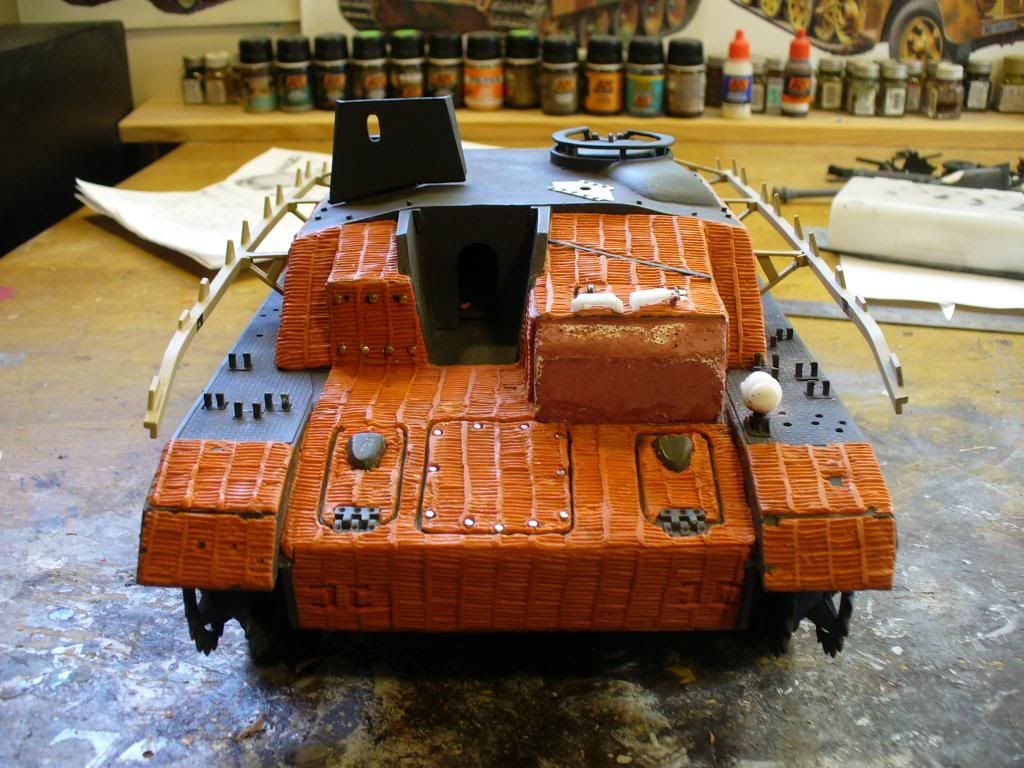
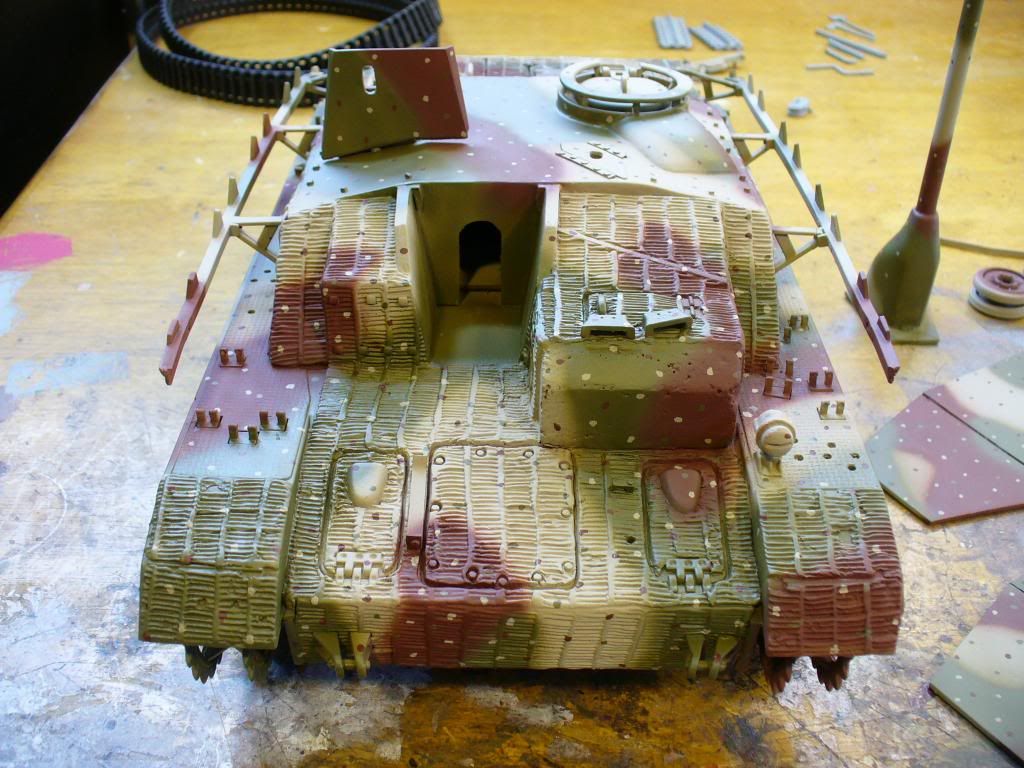
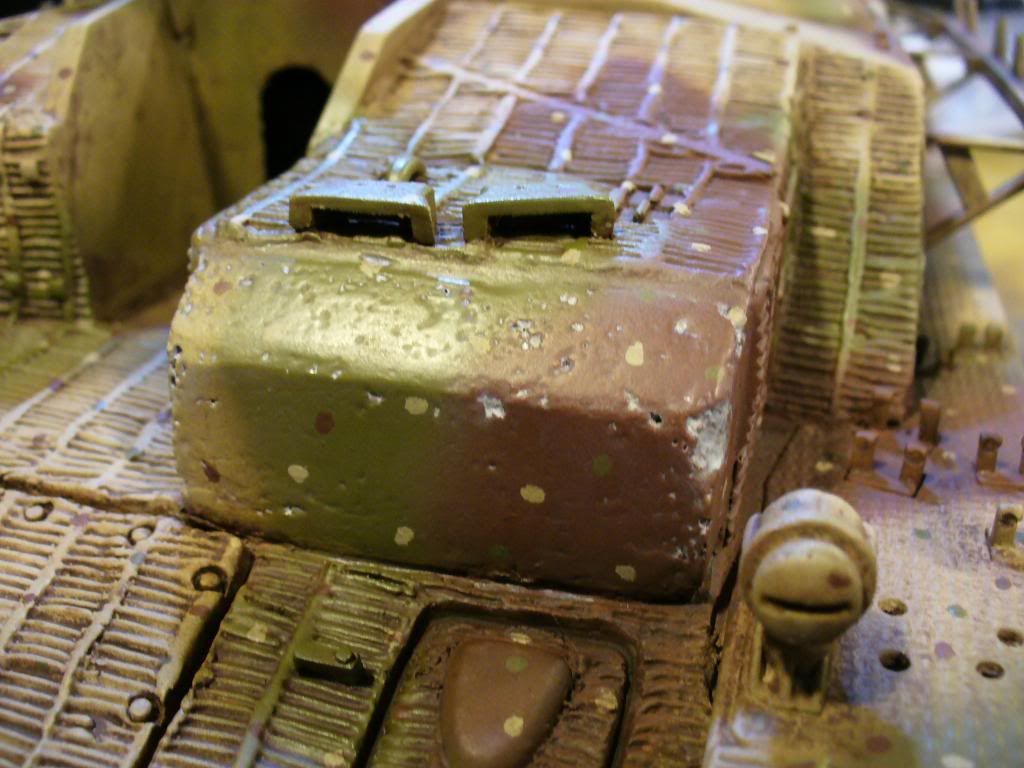
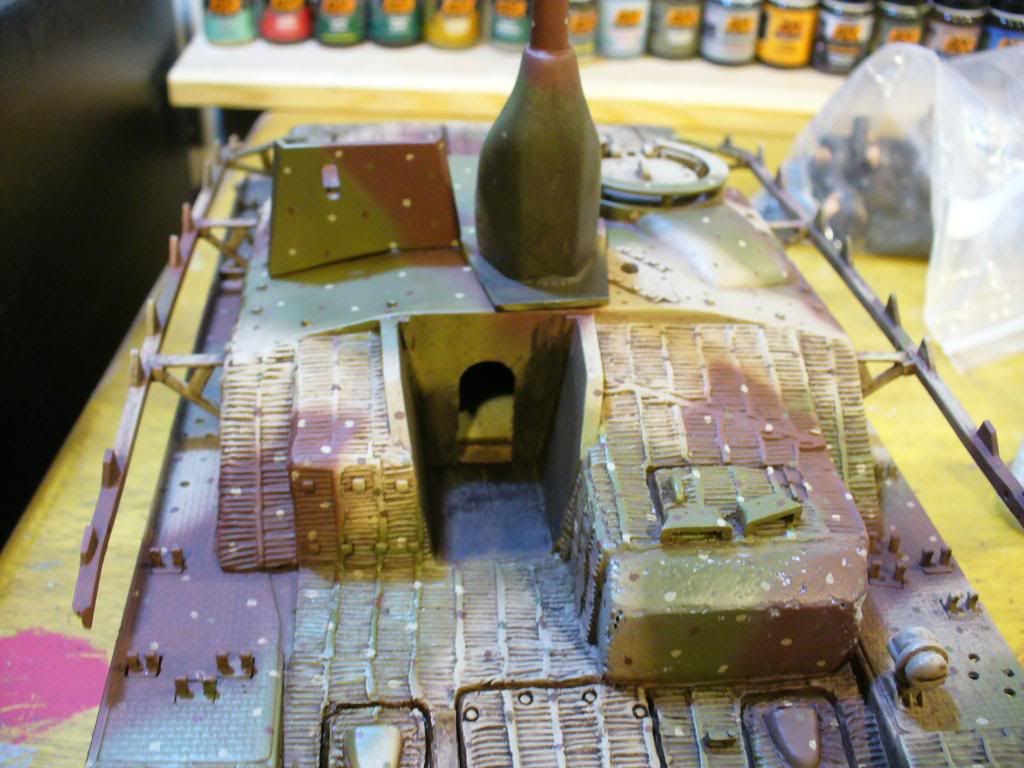
Zimmerit should be done in sections, don’t rush it. Remember doing it “perfect” is not accurate or necessary. It was put on by hand using a trawl and for that reason there are some mistakes not an absolute perfect pattern, also there are many pattern versions on each vehicle, so research before you start. Here is a shot of the completed front.
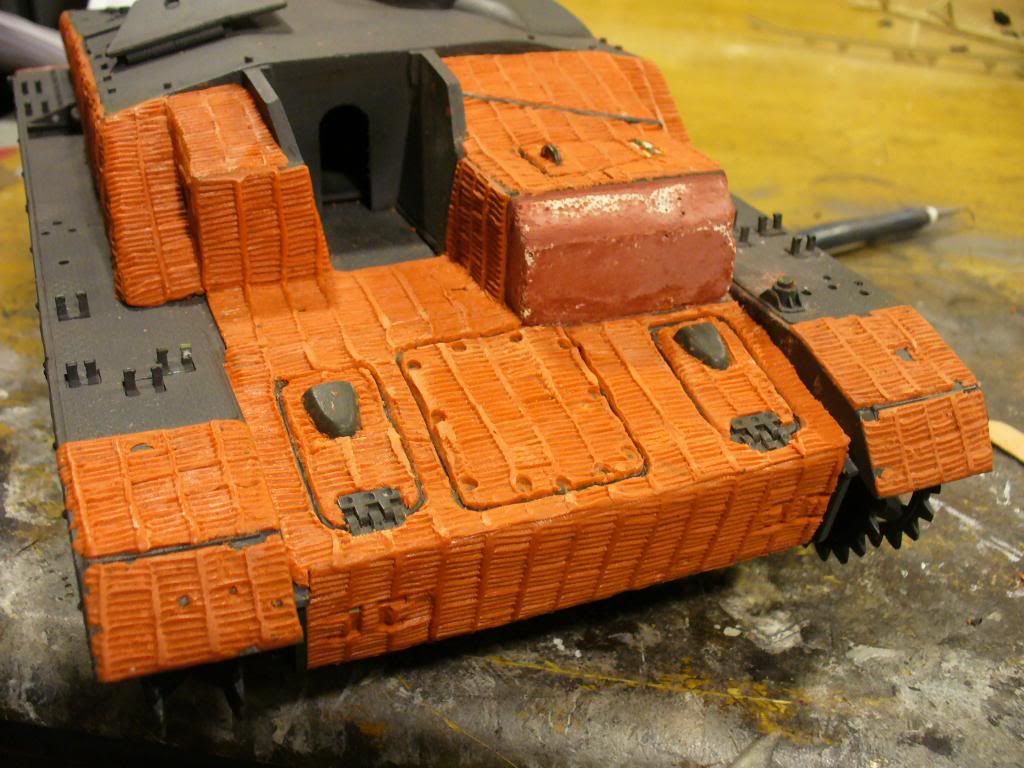
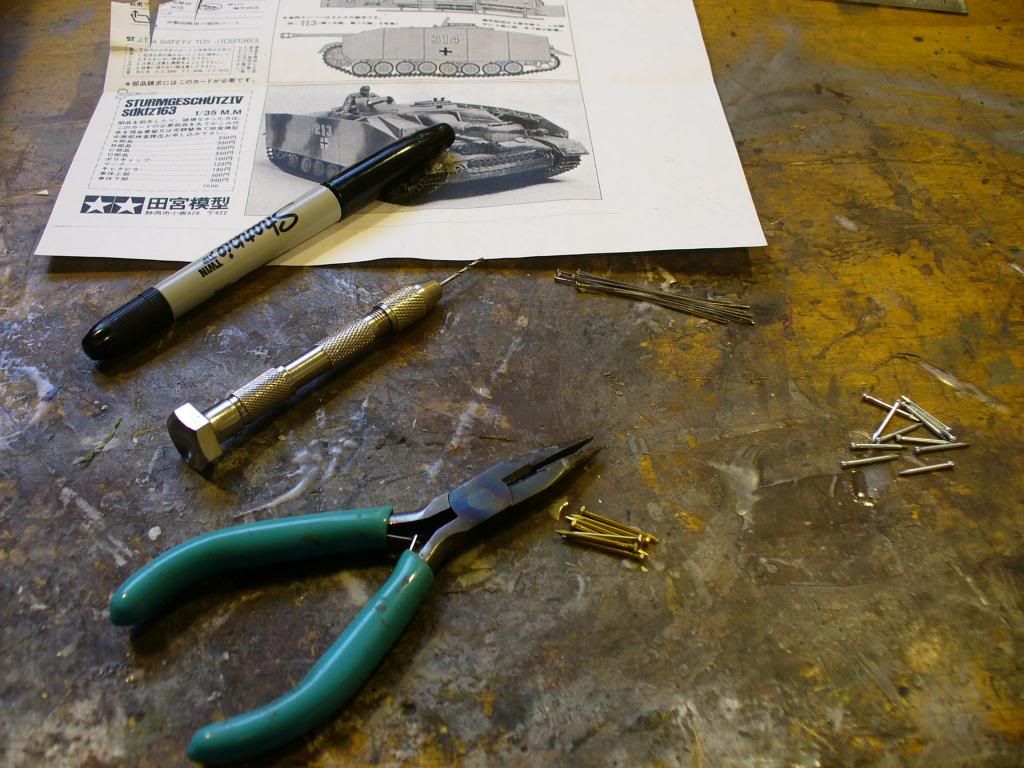
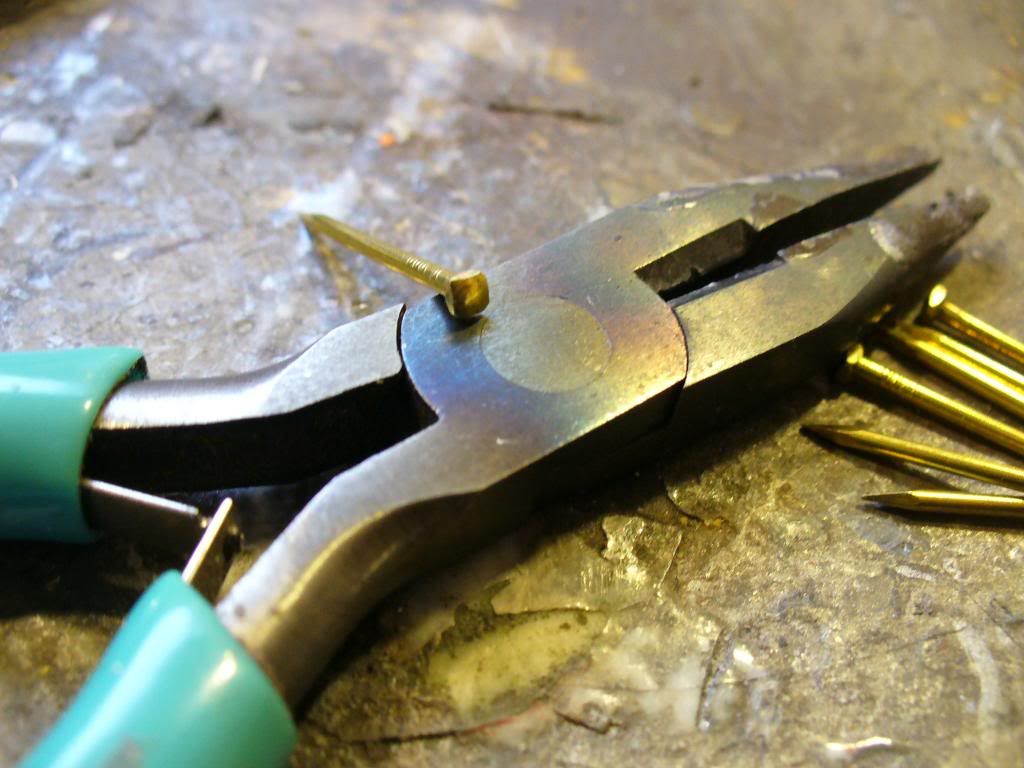
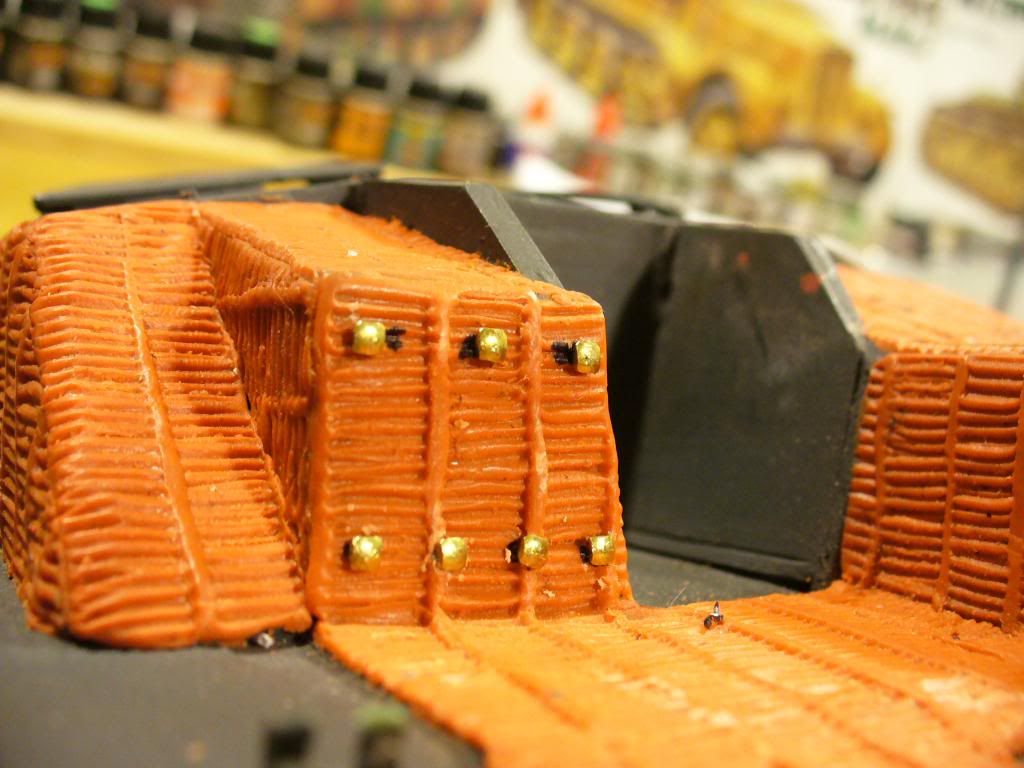
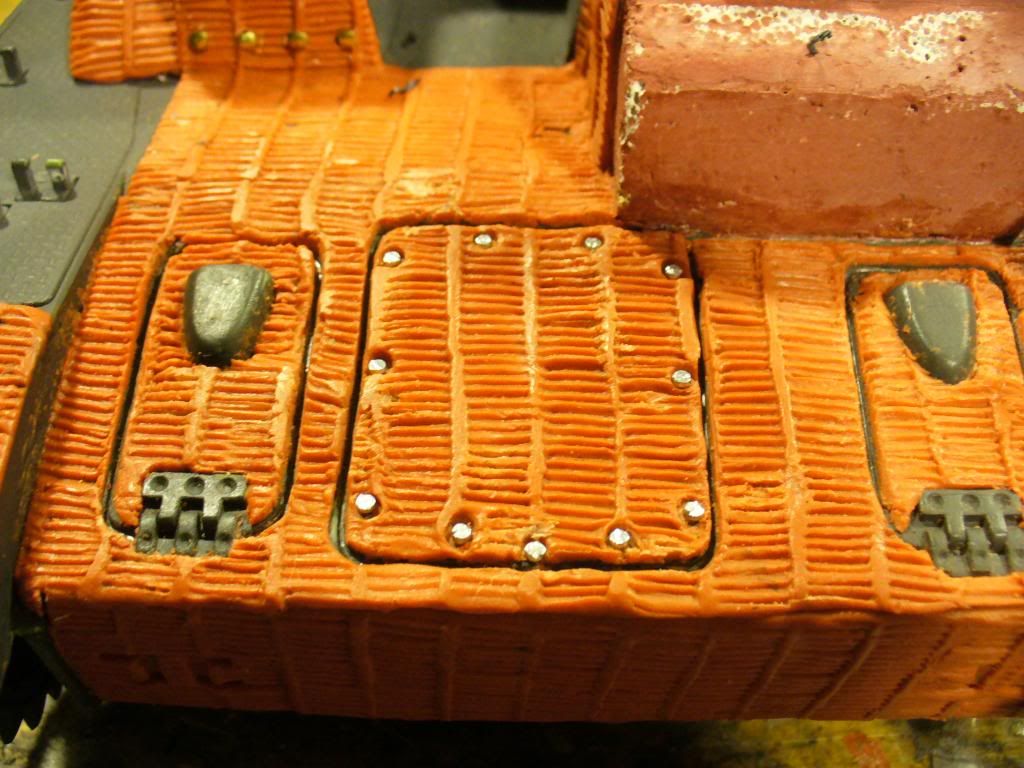
Notice the holes and chips on the finders, “high traffic” areas should look like this. Notice that I covered the bolts on the vertical plate opposite the drivers hatch and that I stamped holes for the transmission cover plate. I will now go back and drill small holes and insert small nails to resemble the raised bolts. There are two major problems that one may face while doing Zimmerit; putting it on to thick and having it pull away while stamping. The first is the harder problem, smooth it on as thin as possible, when stamping you may get thick seems between rows, this can be either fixed by further thinning and restarting or sanding the finished product down. I usually do a combination of the two, I get it as this as I can then stamp and when hard lightly sand. The second problem happens when you pull up the stamp and a chunk of apoxie comes away with the stamp. The easy way to fix this is by keeping the surface of the apoxie damp, a damp cloth or baby wipe is perfect for this. After the stamping is finished take your hobby knife and trim off excess apoxie and let dry, then wet sand.
Much more to come….


